1. Overview
Okta provides features like authentication, authorization, and social login for web, mobile, or API services. Additionally, it has robust support for the Spring Framework to make integrations quite straightforward.
Now that Stormpath has joined forces with Okta to provide better Identity APIs for developers, it's now a popular way to enable authentication in a web application.
In this tutorial, we'll explore Spring Security with Okta along with a minimalistic setup of the Okta developer account.
2. Setting Up Okta
2.1. Developer Account Sign Up
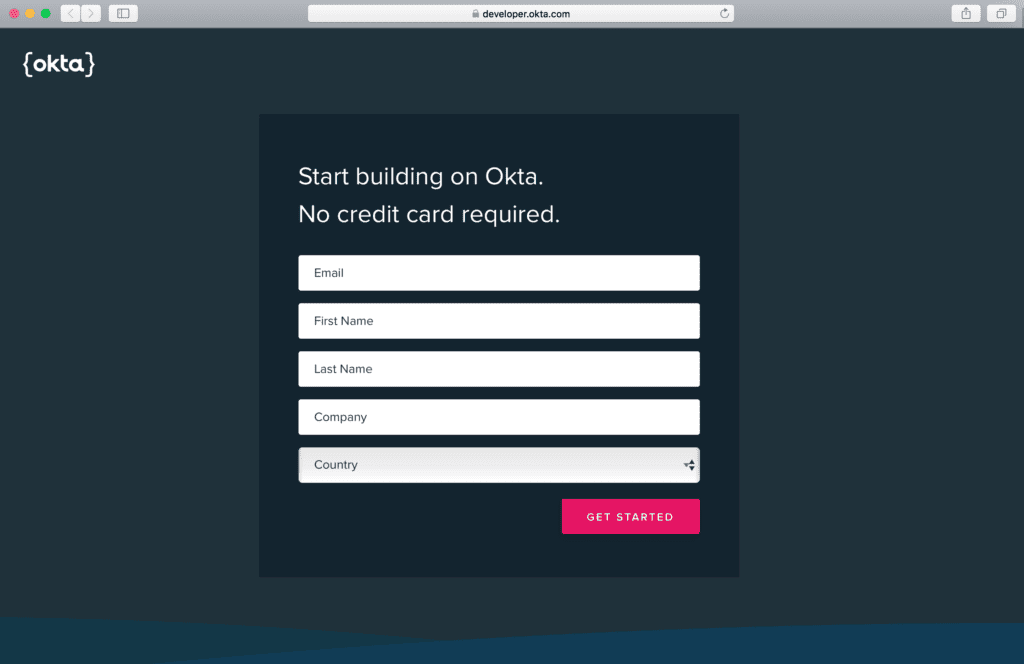
First, we'll sign up for a free Okta developer account that provides access for up to 1k monthly active users. However, we can skip this section if we already have one:
Image may be NSFW.Clik here to view.
2.2. Dashboard
Once logged in to the Okta developer account, we'll land at the dashboard screen that briefs us about the number of users, authentications, and failed logins.
Additionally, it also shows detailed log entries of the system:
Image may be NSFW.Clik here to view.
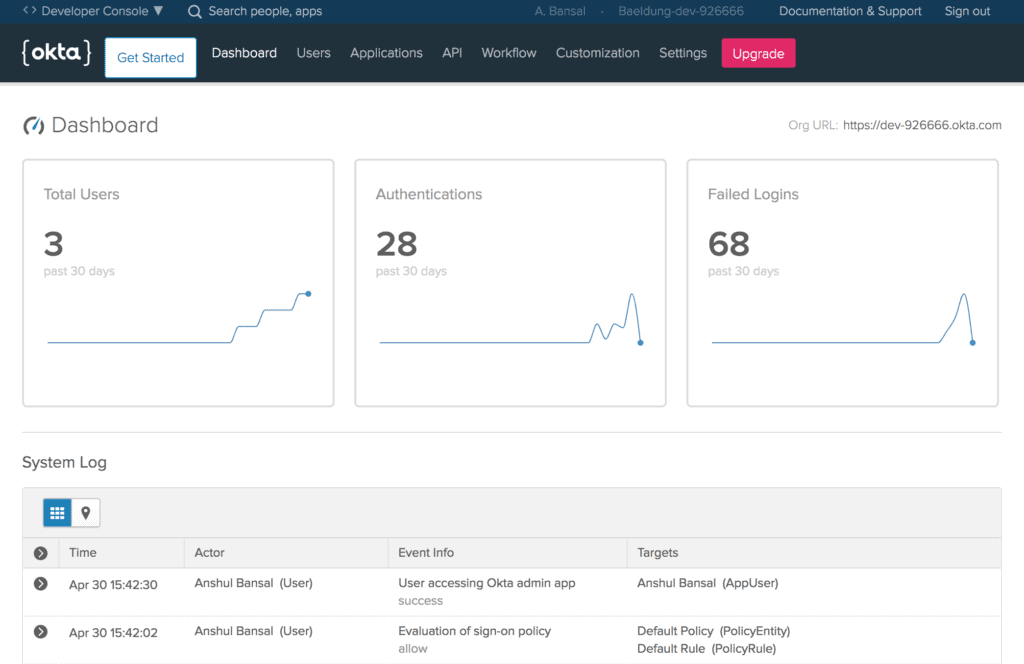
Further, we'll note the Org URL at the upper-right corner of the Dashboard, required for Okta setup in our Spring Boot App that we'll create later.
2.3. Create a New Application
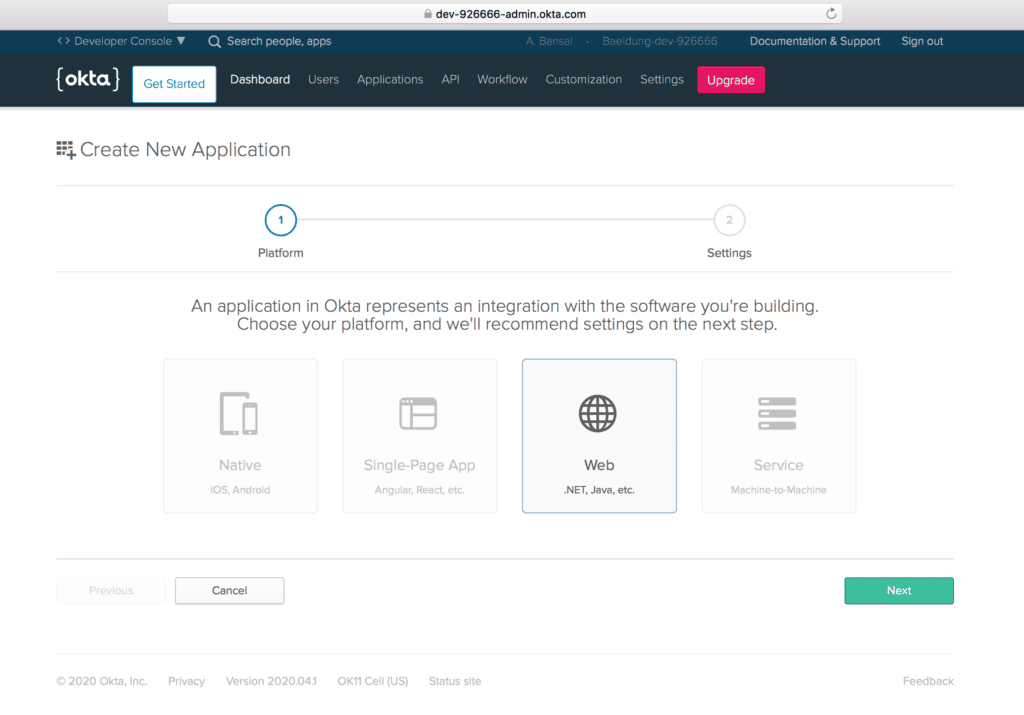
Then, let's create a new application using the Applications menu to create OpenID Connect (OIDC) app for Spring Boot.
Further, we'll choose the Web platform out of available options like Native, Single-Page App, and Service:
Image may be NSFW.Clik here to view.
2.4. Application Settings
Next, let's configure a few application settings like Base URIs and Login redirect URIs pointing to our application:
Image may be NSFW.Clik here to view.
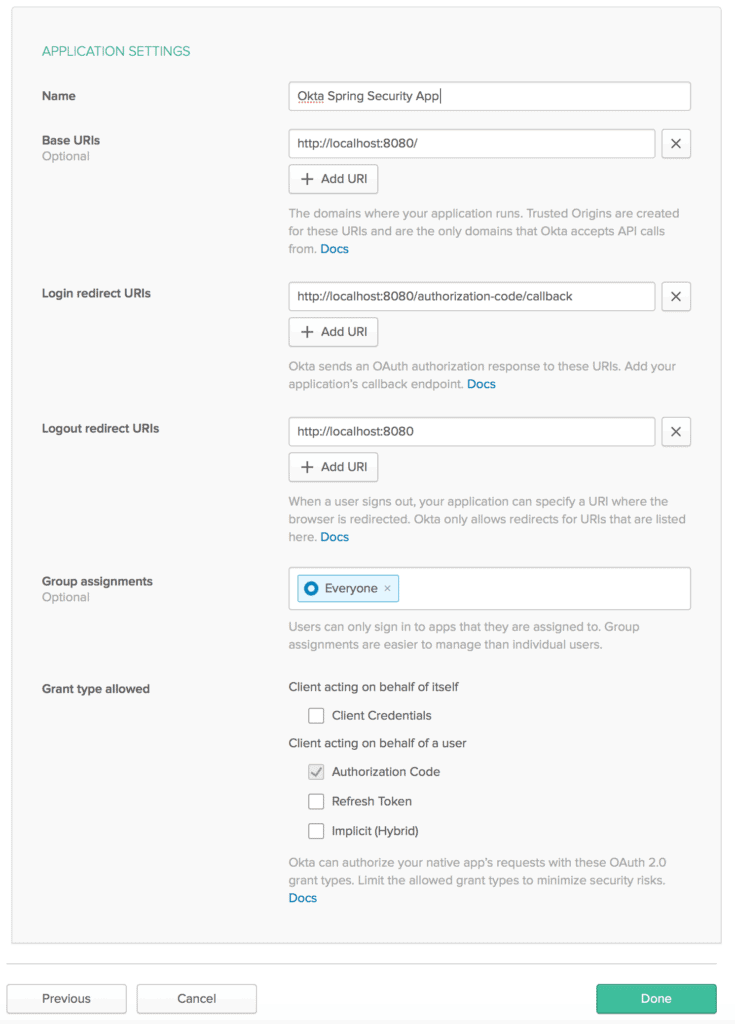
Also, make sure to mark Authorization code for the Grant type allowed, required to enable OAuth2 authentication for a web application.
2.5. Client Credentials
Then, we'll get values for the Client ID and Client secret associated with our app:
Image may be NSFW.Clik here to view.
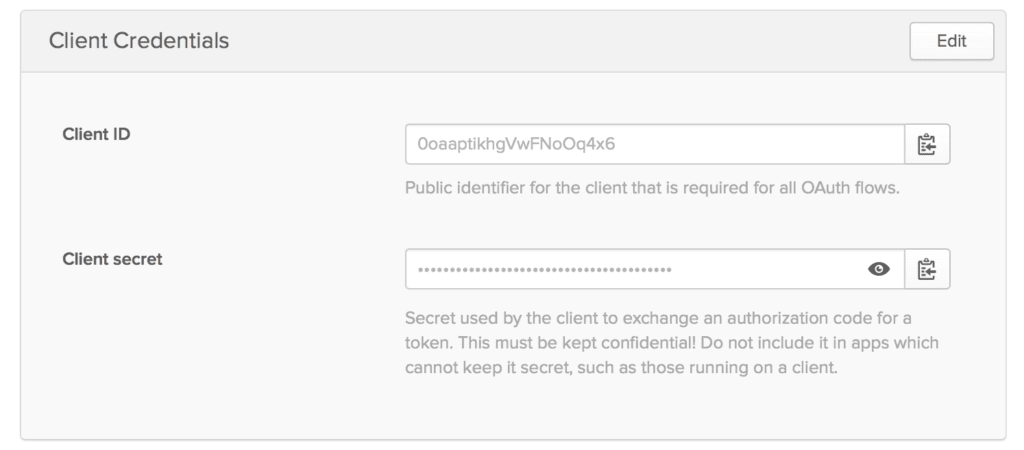
Please keep these credentials handy because they are required for Okta setup.
3. Spring Boot App Setup
Now that our Okta developer account is ready with essential configurations, we're prepared to integrate Okta security support in a Spring Boot App.
3.1. Maven
First, let's add the latest okta-spring-boot-starter Maven dependency to our pom.xml:
<dependency>
    <groupId>com.okta.spring</groupId>
    <artifactId>okta-spring-boot-starter</artifactId>
    <version>1.4.0</version>
</dependency>
3.2. Gradle
Similarly, when using Gradle, we can add the okta-spring-boot-starter dependency in the build.gradle:
compile 'com.okta.spring:okta-spring-boot-starter:1.4.0'
3.3. application.properties
Then, we'll configure Okta oauth2 properties in the application.properties:
okta.oauth2.issuer=https://dev-example123/oauth2/default
okta.oauth2.client-id=1230oaa4yncmaxaQ90ccJwl4x6
okta.oauth2.client-secret=hjiyblEzgT0ItY91Ywcdzwa78oNhtrYqNklQ5vLzvruT123
okta.oauth2.redirect-uri=/authorization-code/callback
Here, we can use the default authorization server (if none available) for the issuer URL that points to the {orgURL}/oauth2/default.
Also, we can create a new Authorization server in the Okta developer account by using the API menu:
Image may be NSFW.Clik here to view.
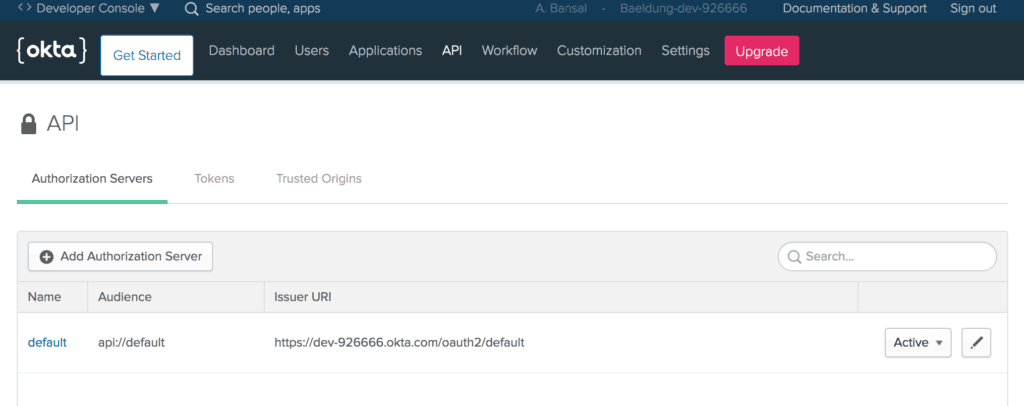
Then, we'll add the Client Id and Client secret of our Okta app that was generated in the previous section.
Last, we've configured the same redirect-uri that is being set in the Application Settings.
4. HomeController
After that, let's create the HomeController class:
@RestController
public class HomeController {
    @GetMapping("/")
    public String home(@AuthenticationPrincipal OidcUser user) {
        return "Welcome, "+ user.getFullName() + "!";
    }
}
Here, we've added the home method with Base Uri (/) mapping, configured in the Application Settings.
Also, the argument of the home method is an instance of the OidcUser class provided by Spring Security for accessing the user information.
That's it! Our Spring Boot App is ready with Okta security support. Let's run our app using the Maven command:
mvn spring-boot:run
When accessing the application at localhost:8080, we'll see a default sign-in page provided by Okta:
Image may be NSFW.Clik here to view.
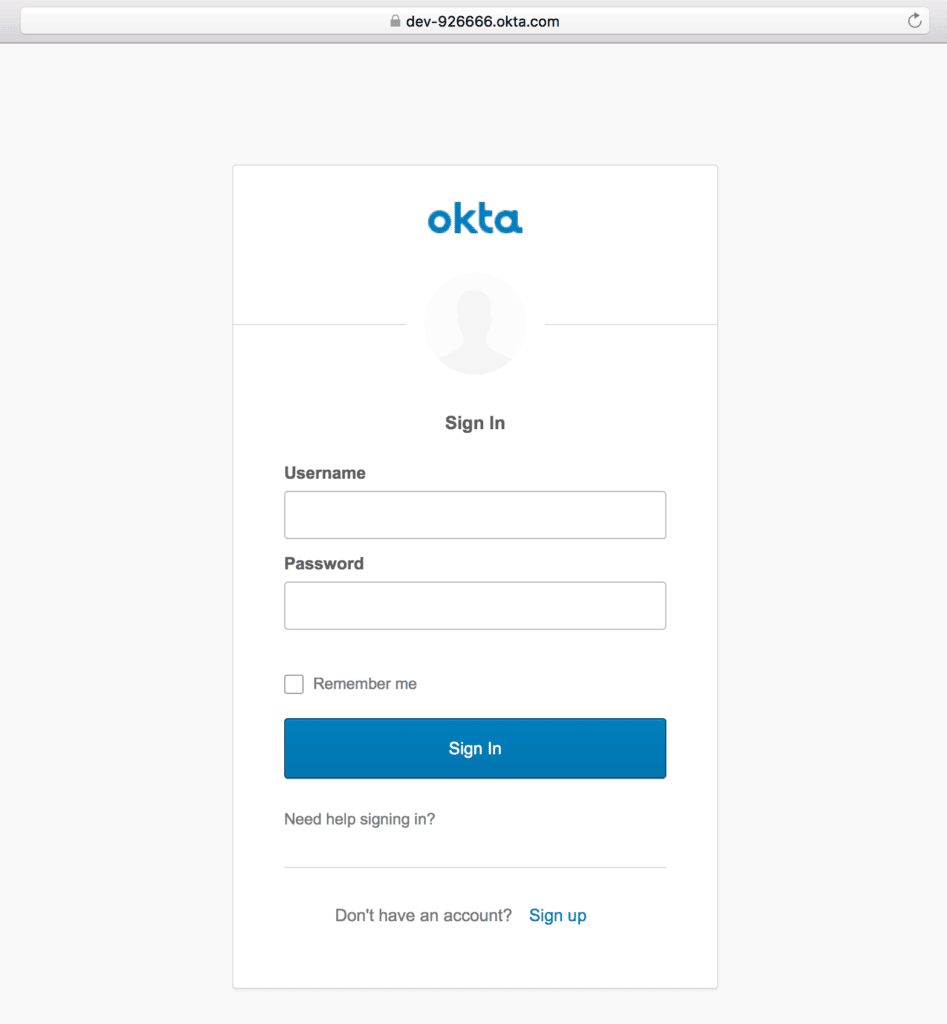
Once logged in using the registered user's credentials, a welcome message with the user's full name will be shown:
Image may be NSFW.Clik here to view.

Also, we'll find a “Sign up” link at the bottom of the default sign-in screen for self-registration.
5. Sign Up
5.1. Self-Registration
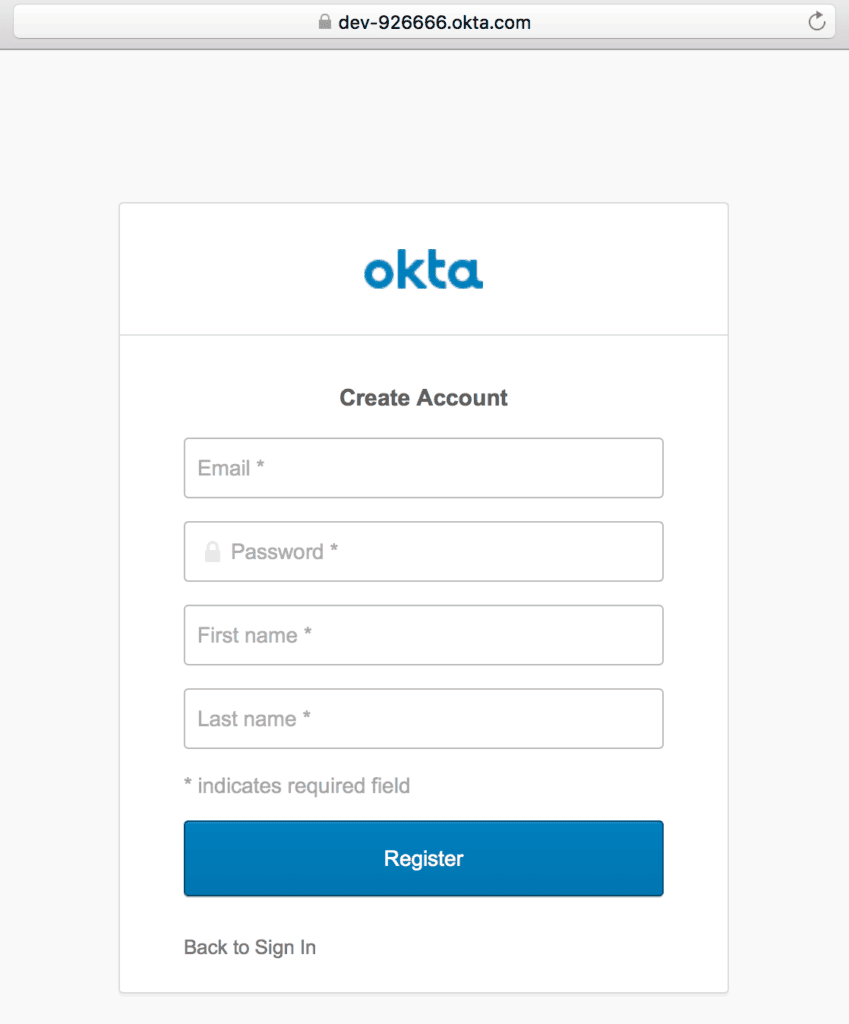
For the first time, we can create an Okta account by using the “Sign up” link, and then providing information like email, first name, and last name:
Image may be NSFW.Clik here to view.
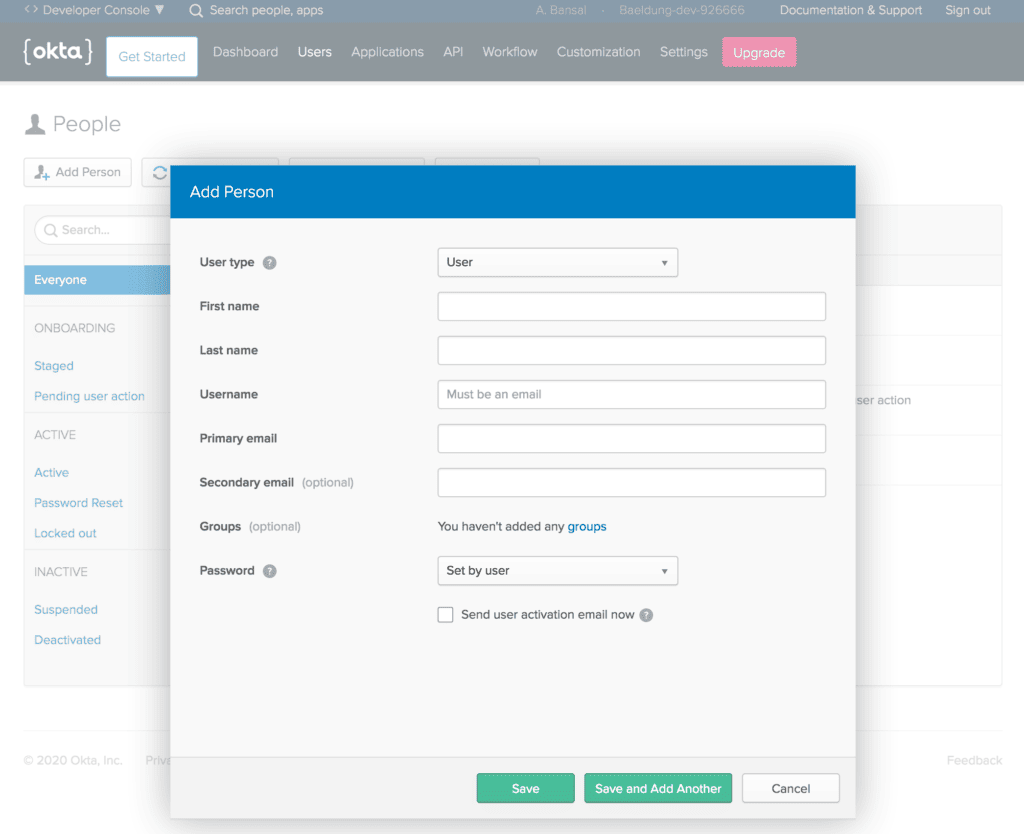
5.2. Create a User
Or, we can create a new user from the Users menu in the Okta developer account:
Image may be NSFW.Clik here to view.
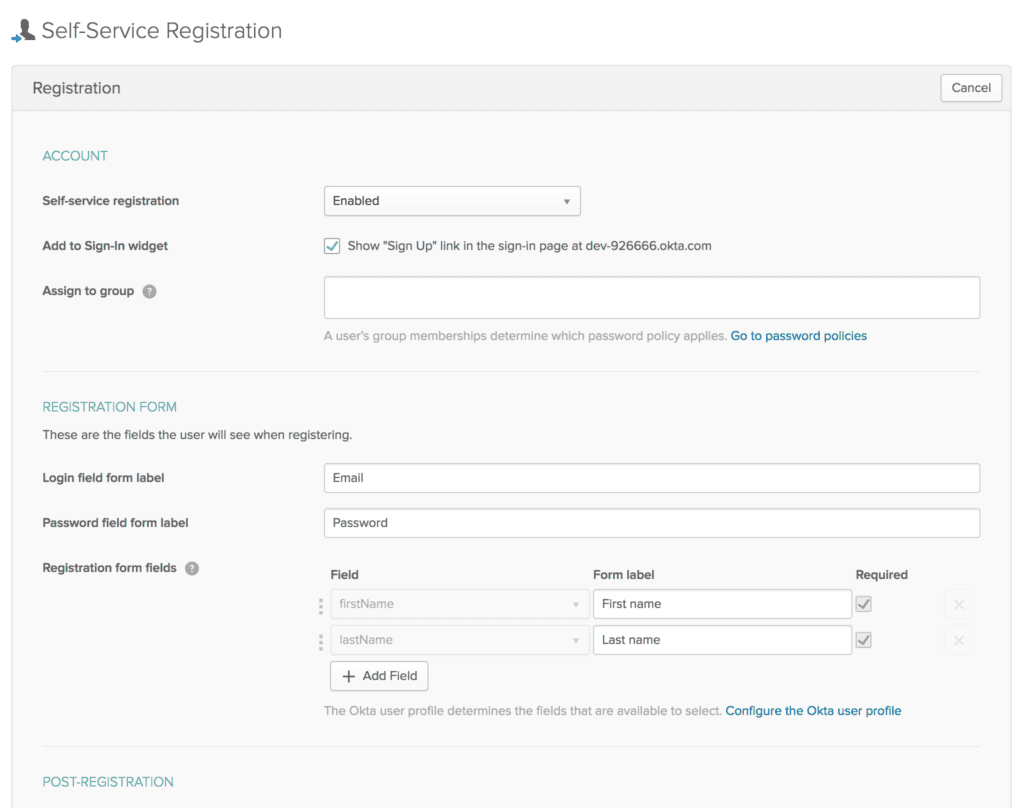
5.3. Self-Service Registration Settings
Additionally, sign-up and registration settings can be configured from the Users menu in the Okta developer account:
Image may be NSFW.Clik here to view.
6. Okta Spring SDK
Now that we've seen Okta security integration in the Spring Boot App, let's interact with the Okta management API in the same app.
First, we should create a Token by using the API menu in the Okta developer account:
Image may be NSFW.Clik here to view.
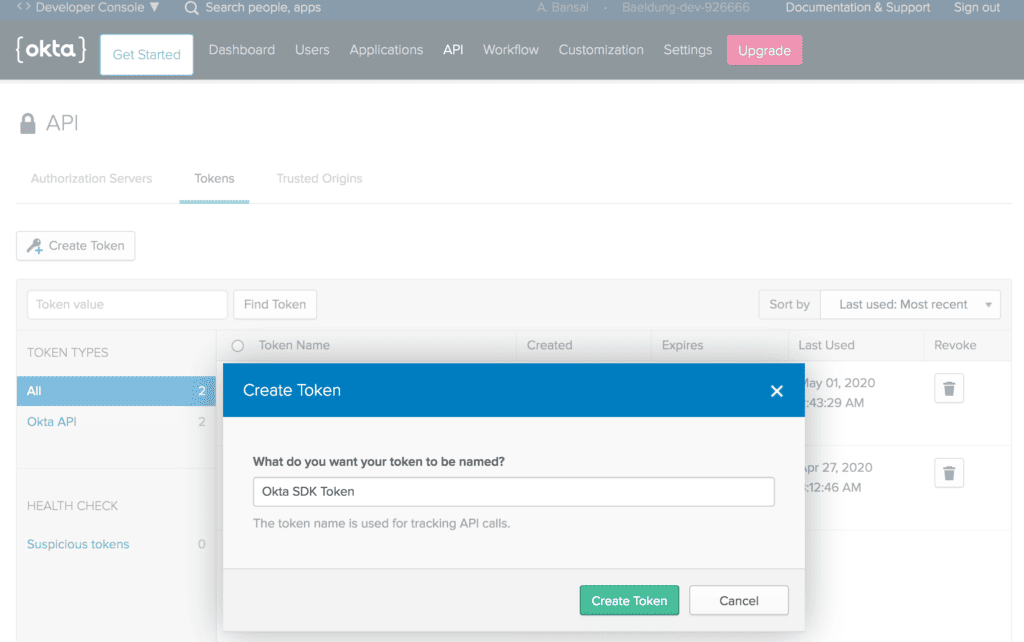
Make sure to note down the Token as it is shown only once after generation. Then, it'll be stored as a hash for our protection.
6.1. Setup
Then, let's add the latest okta-spring-sdk Maven dependency to our pom.xml:
<dependency>
    <groupId>com.okta.spring</groupId>
    <artifactId>okta-spring-sdk</artifactId>
    <version>1.4.0</version>
</dependency>
6.2. application.properties
Next, we'll add a few essential Okta client properties:
okta.client.orgUrl=https://dev-example123.okta.com
okta.client.token=00TVXDNx1e2FgvxP4jLlONbPMzrBDLwESSf9hZSvMI123
Here, we've added the token noted in the previous section.
6.3. AdminController
Last, let's create the AdminController, injected with the Client instance:
@RestController
public class AdminController {
    @Autowired
    public Client client;
}
That's it! We're ready to call methods on the Client instance to make requests to the Okta API.
6.4. List Users
Let's create the getUsers method to fetch a list of all users in our organization, using the listUsers method that returns a UserList object:
public class AdminController {
    // ...

    @GetMapping("/users")
    public UserList getUsers() {
        return client.listUsers();
    }
}
After that, we can access localhost:8080/users to receive a JSON response containing all users:
{
    "dirty":false,
    "propertyDescriptors":{
        "items":{
            "name":"items",
            "type":"com.okta.sdk.resource.user.User"
        }
    },
    "resourceHref":"/api/v1/users",
    "currentPage":{
        "items":[
            {
                "id":"00uanxiv7naevaEL14x6",
                "profile":{
                    "firstName":"Anshul",
                    "lastName":"Bansal",
                    "email":"anshul@bansal.com",
                    // ...
                },
                // ...
            },
            {
                "id":"00uag6vugXMeBmXky4x6",
                "profile":{
                    "firstName":"Ansh",
                    "lastName":"Bans",
                    "email":"ansh@bans.com",
                    // ...
                },
                // ...
            }
        ]
    },
    "empty":false,
    // ...
}
6.5. Search User
Similarly, we can filter users using the firstName, lastName, or email as query parameters:
@GetMapping("/user")
public UserList searchUserByEmail(@RequestParam String query) {
    return client.listUsers(query, null, null, null, null);
}
Let's search for a user by email using localhost:8080/user?query=ansh@bans.com:
{
    "dirty":false,
    "propertyDescriptors":{
        "items":{
            "name":"items",
            "type":"com.okta.sdk.resource.user.User"
        }
    },
    "resourceHref":"/api/v1/users?q=ansh%40bans.com",
    "currentPage":{
        "items":[
            {
                "id":"00uag6vugXMeBmXky4x6",
                "profile":{
                    "firstName":"Ansh",
                    "lastName":"Bans",
                    "email":"ansh@bans.com",
                    // ...
                },
                // ...
            }
        ]
    },
    // ...
}
6.6. Create User
Also, we can create a new user by using the instance method of the UserBuilder interface:
@GetMapping("/createUser")
public User createUser() {
    char[] tempPassword = {'P','a','$','$','w','0','r','d'};
    User user = UserBuilder.instance()
        .setEmail("normal.lewis@email.com")
        .setFirstName("Norman")
        .setLastName("Lewis")
        .setPassword(tempPassword)
        .setActive(true)
        .buildAndCreate(client);
    return user;
}
So, let's access localhost:8080/createUser and verify new user's details:
{
    "id": "00uauveccPIYxQKUf4x6",
    "profile": {
        "firstName": "Norman",
        "lastName": "Lewis",
        "email": "norman.lewis@email.com"
    },
    "credentials": {
        "password": {},
        "emails": [
            {
                "value": "norman.lewis@email.com",
                "status": "VERIFIED",
                "type": "PRIMARY"
            }
        ],
        // ...
    },
    "_links": {
        "resetPassword": {
            "href": "https://dev-example123.okta.com/api/v1/users/00uauveccPIYxQKUf4x6/lifecycle/reset_password",
            "method": "POST"
        },
        // ...
    }
}
Similarly, we can perform a range of operations like listing all applications, creating an application, listing all groups, and creating a group.
7. Conclusion
In this quick tutorial, we explored Spring Security with Okta.
First, we set up the Okta developer account with essential configurations. Then, we created a Spring Boot App and configured the application.properties for Spring Security integration with Okta.
Next, we integrated the Okta Spring SDK to manage Okta API. Last, we looked into features like listing all users, searching a user, and creating a user.
As usual, all the code implementations are available over on GitHub.
Image may be NSFW.Clik here to view.