1. Overview
We can use Keycloak as a third-party authorization server to manage users of our web or mobile applications.
While it's possible for an administrator to add users, Keycloak also has the ability to allow users to register themselves. Additionally, along with default attributes such as first name, last name, and email, we can also add extra user attributes specific to our application's need.
In this tutorial, we'll see how we can enable self-registration on Keycloak and add custom fields on the user registration page.
We're building on top of customizing the login page, so it'll be helpful to go through it first for the initial setup.
2. Standalone Server
First, we'll see user self-registration for a standalone Keycloak server.
2.1. Enabling User Registration
Initially, we need to enable Keycloak to allow user registration. For that, we'll first need to start the server by running this command from our Keycloak distribution's bin folder:
./standalone.sh -Djboss.socket.binding.port-offset=100Then we need to go to the admin console and key-in the initial1/zaq1!QAZ credentials.
Next, in the Login tab on the Realm Settings page, we'll toggle the User registration button:
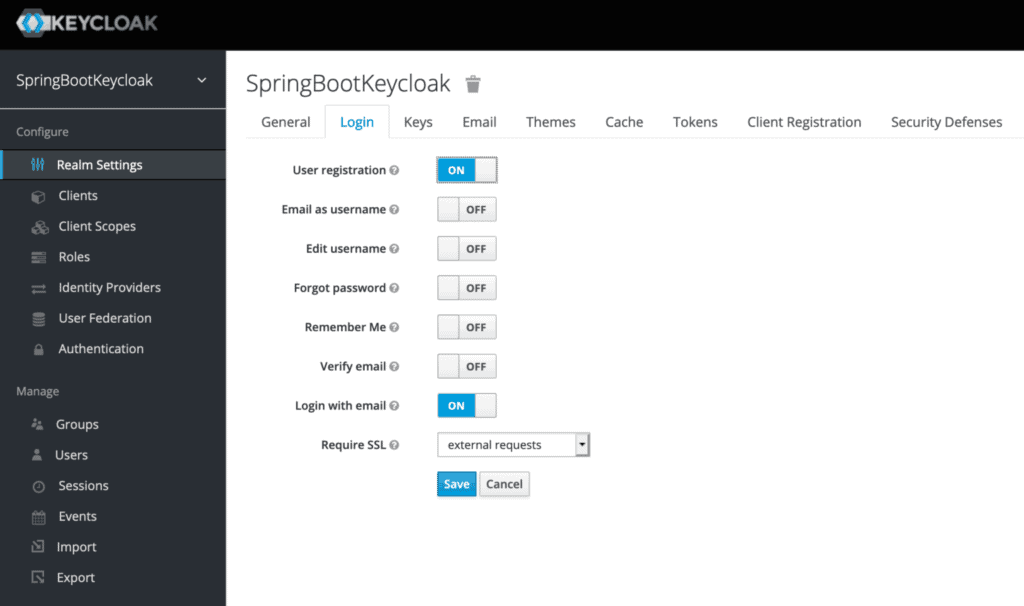
That's all! We just need to click Save and self-registration gets enabled.
So now we'll get a link named Register on the login page:
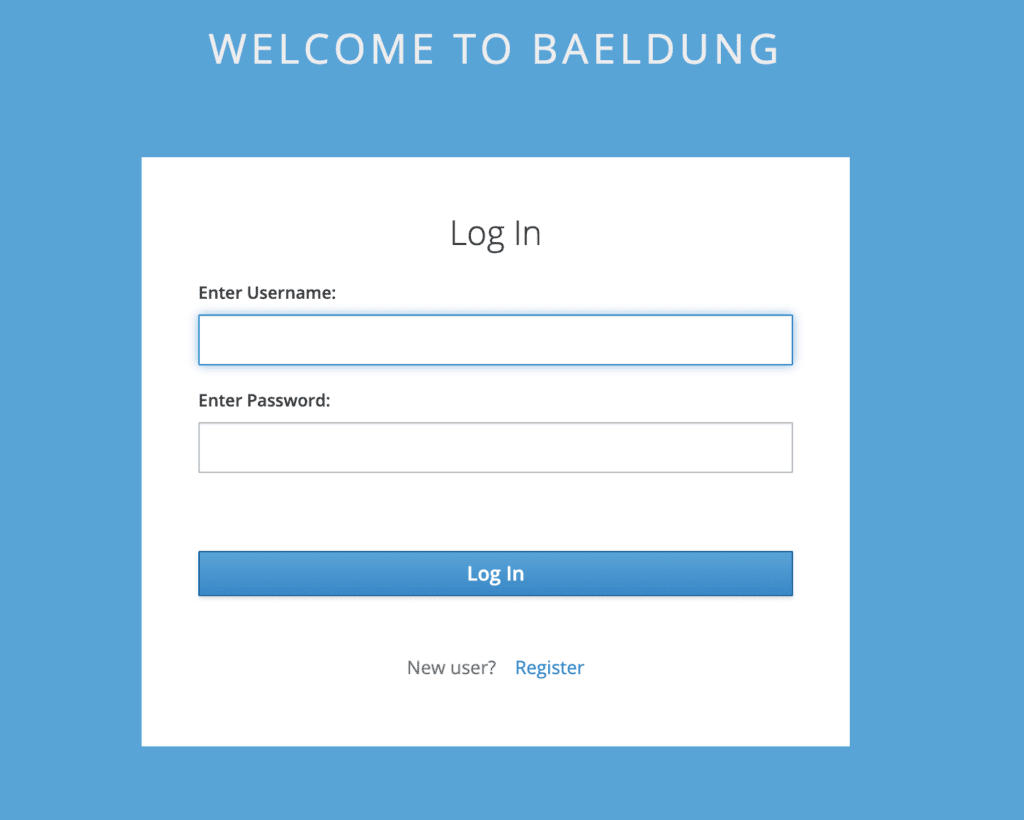
Again, recall that the page looks different than Keycloak's default login page because we're extending the customizations we did earlier.
The register link takes us to the Register page:
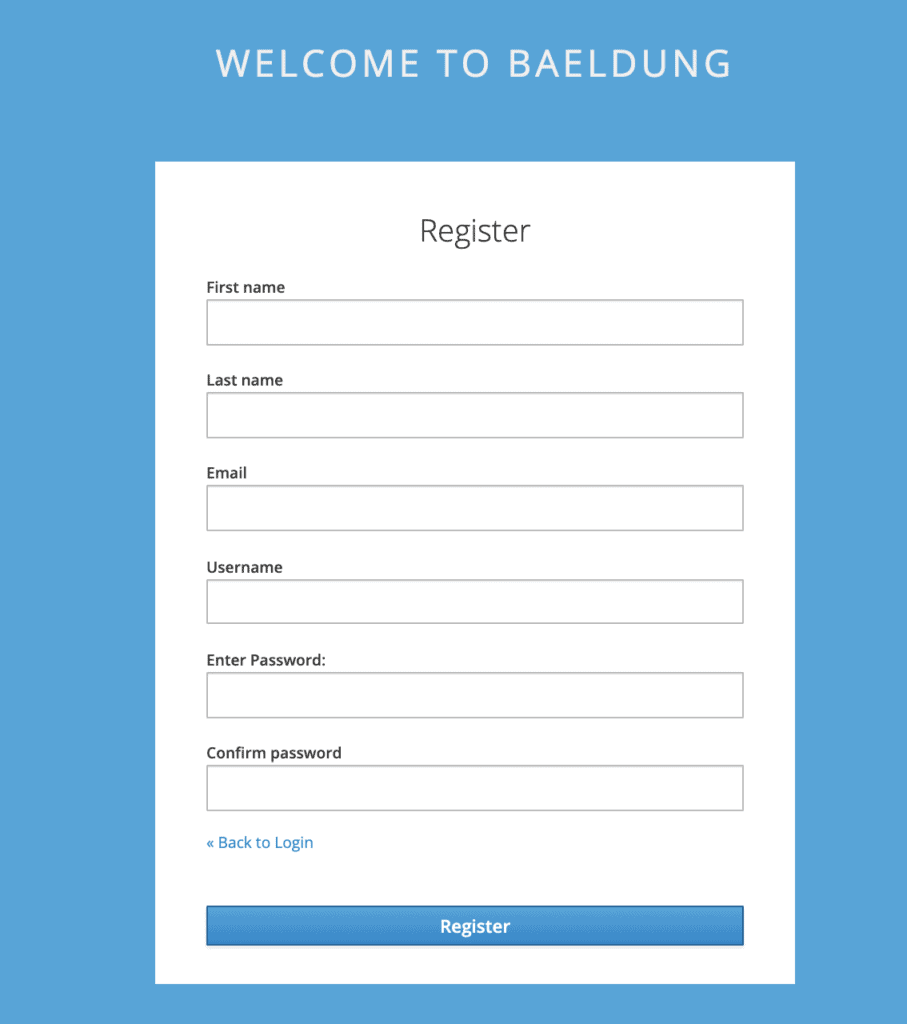
As we can see, the default page includes the basic attributes of a Keycloak user.
In the next section, we'll see how we can add extra attributes of our choice.
2.2. Adding Custom User Attributes
Continuing with our custom theme, let's copy the existing template base/login/register.ftl to our custom/login folder.
We'll now try adding a new field dob for Date of birth. For that, we'll need to modify the above register.ftl and add this:
<div class="form-group">
    <div class="${properties.kcLabelWrapperClass!}">
        <label for="user.attributes.dob" class="${properties.kcLabelClass!}">
          Date of birth</label>
    </div>
    <div class="${properties.kcInputWrapperClass!}">
        <input type="date" class="${properties.kcInputClass!}"
          id="user.attributes.dob" name="user.attributes.dob"
          value="${(register.formData['user.attributes.dob']!'')}"/>
    </div>
</div>
Now when we register a new user on this page, we can enter its Date of birth as well:
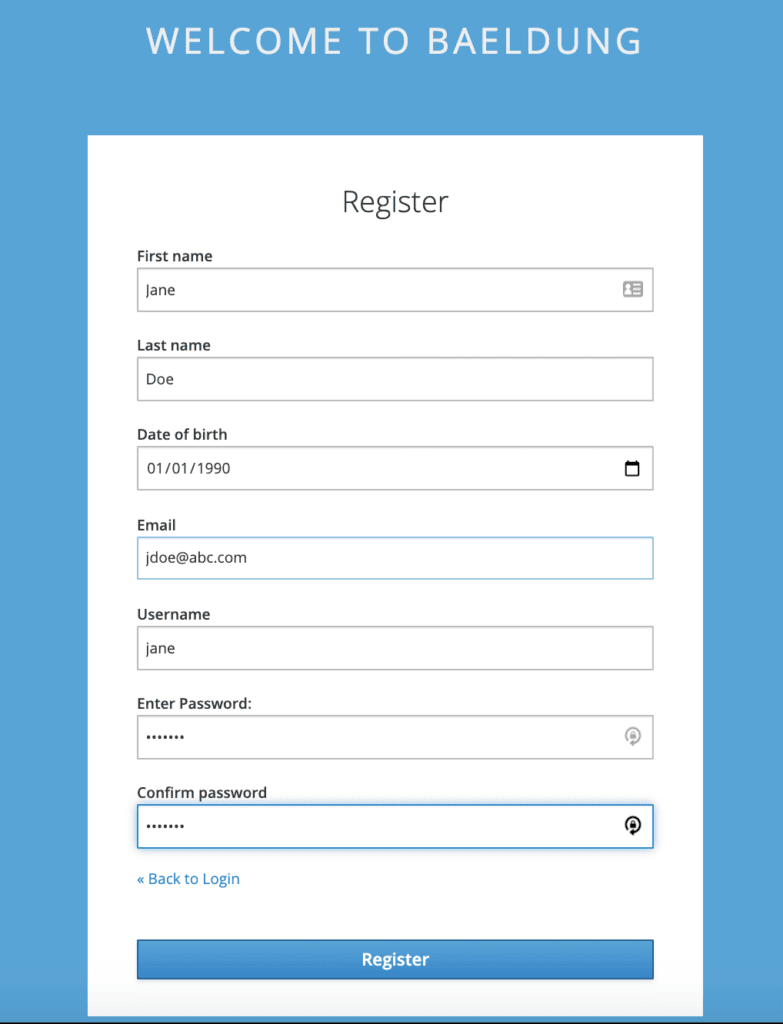
To verify, let's open up the Users page on the admin console and lookup Jane:

Next, let's go to Jane‘s Attributes and check out the DOB:

As is evident, the same date of birth is displayed here as we entered on the self-registration form.
3. Embedded Server
Now let's see how we can add custom attributes for self-registration for a Keycloak server embedded in a Spring Boot application.
Same as the first step for the standalone server, we need to enable user registration in the beginning.
We can do this by setting registrationAllowed to true in our realm definition file, baeldung-realm.json:
"registrationAllowed" : true,After that, we need to add Date of birth to register.ftl, exactly the same way as done previously.
Next, let's copy this file to our src/main/resources/themes/custom/login directory.
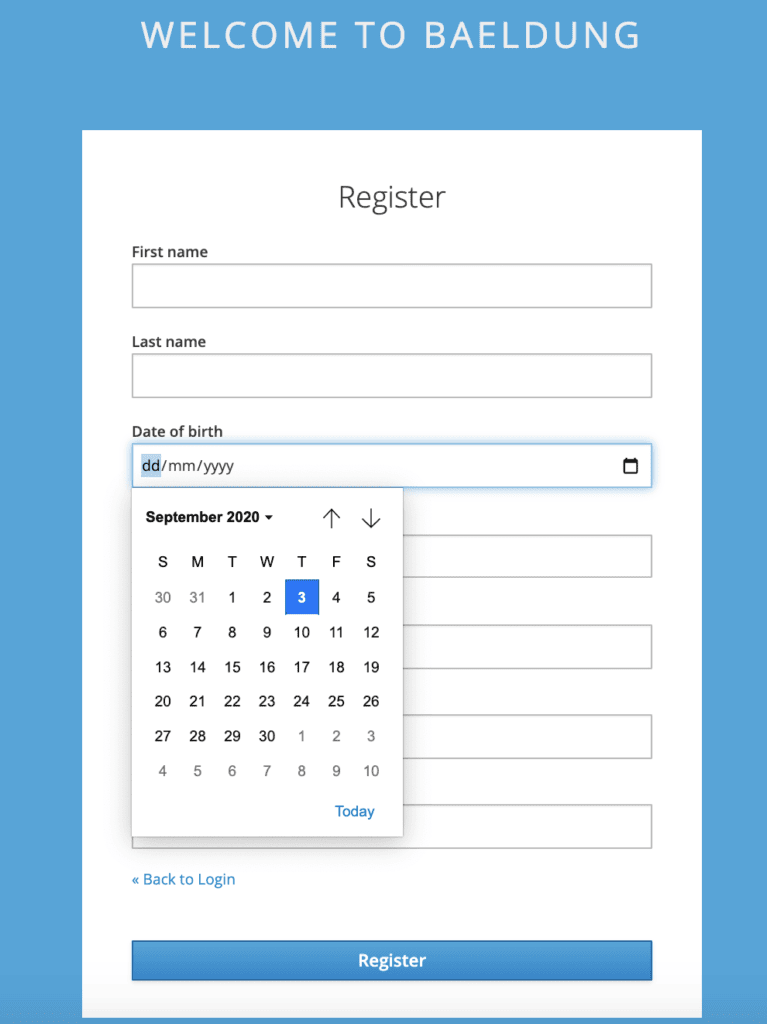
Now on starting the server, our login page carries the register link. Here's the self-registration page with our custom field Date of birth:
It's important to bear in mind that the user added via the self-registration page for the embedded server is transient.
Since we did not add this user to the pre-configuration file, it won't be available on a server restart. However, this comes in handy during the development phase, when we're only checking design and functionality.
To test, before restarting the server, we can verify that the user is added with DOB as a custom attribute from the admin console. We can also try to log in using the new user's credentials.
4. Conclusion
In this tutorial, we learned how to enable user self-registration in Keycloak. We also saw how to add custom attributes while registering as a new user.
We looked at examples on how to do this for both a standalone as well as an embedded instance.
As always, the source code is available over on GitHub.
The post Keycloak User Self-Registration first appeared on Baeldung.


