1. Overview
In this quick tutorial, we'll build upon getting started with forms in Spring MVC and add one more button to the JSP form, mapping to the same URI.
2. A Short Recap
Earlier, we created a small web application to enter details of an employee and save them in-memory.
First, we wrote a model Employee to bind the entity, then an EmployeeController to handle the flow and mappings, and lastly, a view named employeeHome that describes the form for the user to key-in input values.
This form had a single button Submit, that mapped to the controller's RequestMapping called addEmployee to add the user entered details to the in-memory database using the model.
In the next few sections, we'll see how to add another button, Cancel, to the same form with the same RequestMapping path in the controller.
3. The Form
First, let's add a new button to the form employeeHome.jsp:
<%@ taglib prefix="form" uri="http://www.springframework.org/tags/form"%>
...
<body>
    <h3>Welcome, Enter The Employee Details</h3>
    <h4>${message}</h4>
    <form:form method="POST" action="${pageContext.request.contextPath}/addEmployee"
      modelAttribute="employee">
        <table>
            ...
            <tr>
                <td><input type="submit" name="submit" value="Submit" /></td>
                <td><input type="submit" name="cancel" value="Cancel" /></td>
            </tr>
...
As we can see, we added an attribute name to the existing Submit button and added another Cancel button with the name set to cancel.
We also added a model attribute message towards the top of the page, which will be displayed if and when Cancel is clicked.
4. The Controller
Next, let's modify the controller to add a new attribute param to the RequestMapping to distinguish between the two button clicks:
@RequestMapping(value = "/addEmployee", method = RequestMethod.POST, params = "submit")
public String submit(@Valid @ModelAttribute("employee") final Employee employee,
  final BindingResult result, final ModelMap model) {
        // same code as before
}
@RequestMapping(value = "/addEmployee", method = RequestMethod.POST, params = "cancel")
public String cancel(@Valid @ModelAttribute("employee") final Employee employee,
  final BindingResult result, final ModelMap model) {
    model.addAttribute("message", "You clicked cancel, please re-enter employee details:");
    return "employeeHome";
}
Here, we added a new parameter params to the existing method submit. Notably, its value is the same as the name specified in the form.
Then we added another method cancel with a similar signature, the only difference being the parameter params specified as cancel. As before, this is the exact same value as the name of the button Cancel in the JSP form.
5. Testing
To test, we'll deploy the project on a web container such as Tomcat.
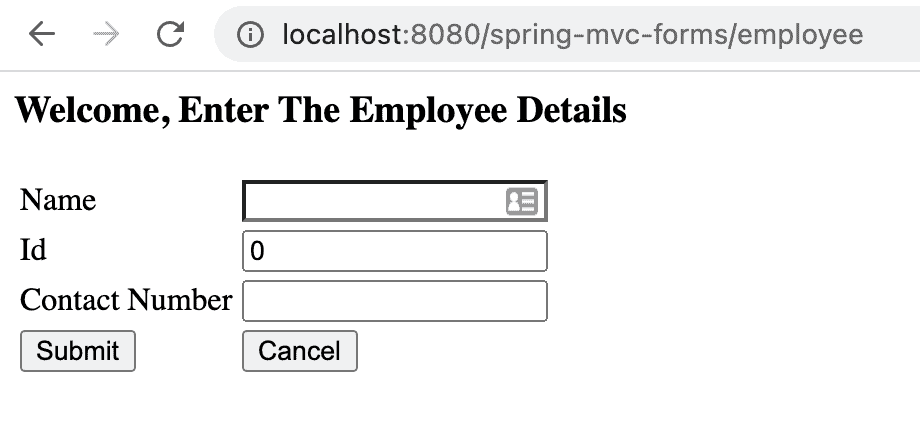
On hitting the URL http://localhost:8080/spring-mvc-forms/employee, we'll be presented with:

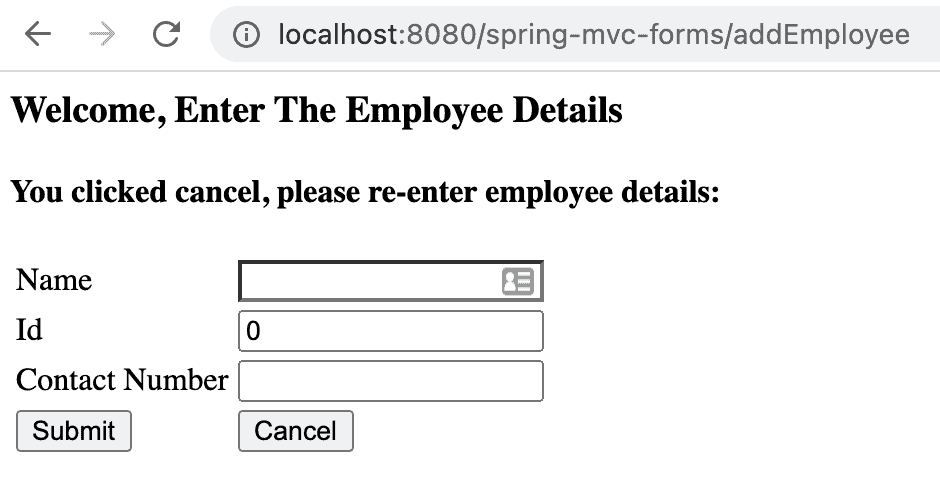
After hitting Cancel, we'll see:

Here, we see the message we'd coded in the controller's method cancel.
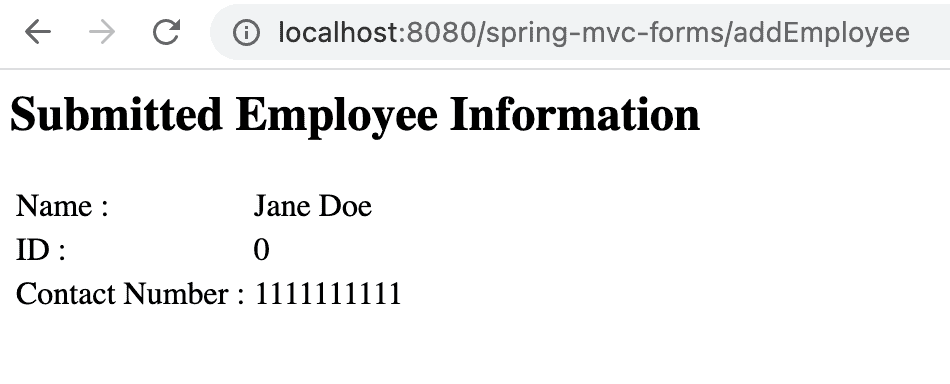
On clicking Submit, we see the keyed-in employee information as before:

6. Conclusion
In this tutorial, we learned how to add another button to the same form in a Spring MVC application that maps to the same RequestMapping on the controller.
We can add more buttons if required using the same technique as demonstrated in the code snippets.
As always, the source code is available over on GitHub.
The post Multiple Submit Buttons on a Form first appeared on Baeldung.


