1. Overview
In this tutorial, we'll understand how to host a Maven repository on GitHub with sources using the site-maven plugin. This is an affordable alternative to using a repository like Nexus.
2. Prerequisites
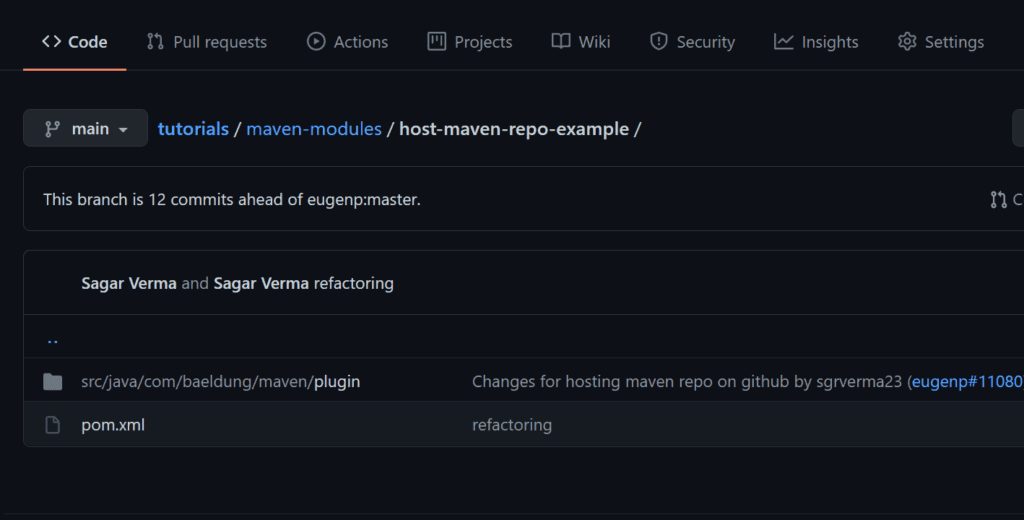
We need to create a repo for a Maven project on GitHub if we don't have it already. In this article, we're using one repository, “host-maven-repo-example“, and the branch “main“. This is an empty repo on GitHub:

3. Maven Project
Let's create a simple Maven project. We'll push the generated artifacts of this project to GitHub.
Here's the pom.xml of the project:
<project xmlns="http://maven.apache.org/POM/4.0.0" xmlns:xsi="http://www.w3.org/2001/XMLSchema-instance" xsi:schemaLocation="http://maven.apache.org/POM/4.0.0 http://maven.apache.org/xsd/maven-4.0.0.xsd">
    <modelVersion>4.0.0</modelVersion>
    <groupId>org.baeldung.maven.plugin</groupId>
    <artifactId>host-maven-repo-example</artifactId>
    <version>1.0-SNAPSHOT</version>
    <build>
        <pluginManagement>
            <plugins>
                <plugin>
                    <groupId>org.apache.maven.plugins</groupId>
                    <artifactId>maven-compiler-plugin</artifactId>
                    <configuration>
                        <source>1.8</source>
                        <target>1.8</target>
                    </configuration>
                </plugin>
            </plugins>
        </pluginManagement>
    </build>
<project>
First, we need to create an internal repo locally in our project. The Maven artifact will be deployed to this location in the project build directory before pushing to GitHub.
We'll add the local repo definition to our pom.xml:
<distributionManagement>
    <repository>
        <id>internal.repo</id>
        <name>Temporary Staging Repository</name>
        <url>file://${project.build.directory}/mvn-artifact</url>
    </repository>
</distributionManagement>
Now, let's add the maven-deploy-plugin configuration to our pom.xml. We'll use this plugin to add our artifact(s) to a local repository in the directory ${project.build.directory}/mvn-artifact:
<plugin>
    <artifactId>maven-deploy-plugin</artifactId>
    <version>2.8.2</version>
    <configuration>
        <altDeploymentRepository>
            internal.repo::default::file://${project.build.directory}/mvn-artifact
        </altDeploymentRepository>
    </configuration>
</plugin>
Also, if we want to push the source files with Maven artifacts to GitHub, then we need to include the source plugin as well:
<plugin>
    <groupId>org.apache.maven.plugins</groupId>
    <artifactId>maven-source-plugin</artifactId>
    <version>3.1.0</version>
    <executions>
        <execution>
            <id>attach-sources</id>
                <goals>
                    <goal>jar</goal>
                </goals>
        </execution>
    </executions>
</plugin>
Once the above configurations and plugins are added to pom.xml, the build will deploy the Maven artifact locally in the directory target/mvn-artifact.
Now, the next step is to deploy these artifacts to GitHub from the local directory.
4. Configure GitHub Authentication
Before deploying artifacts to GitHub, we'll configure authentication information in ~/.m2/settings.xml. This is to enable the site-maven-plugin to push the artifacts to GitHub.
Depending on how we want to authenticate, we'll add one of two configurations to our settings.xml. Let's check these options next.
4.1. Using a GitHub Username and Password
To use a GitHub username and password, we'll configure them in our settings.xml:
<settings>
    <servers>
        <server>
            <id>github</id>
            <username><<em>your Github username</em>></username>
            <password><<em>your Github password</em>></password>
        </server>
    </servers>
</settings>
4.2. Using a Personal Access Token
The recommended way to authenticate when using the GitHub API or command line is to use a personal access token (PAT):
<settings>
    <servers>
        <server>
            <id>github</id>
            <password><<em>YOUR GitHub OAUTH-TOKEN></em></password>
        </server>
    </servers>
</settings>
5. Push Artifact to GitHub Using site-maven-plugin
And the last step is to configure the site-maven plugin to push our local staging repo. This staging repo is present in the target directory:
<plugin>
    <groupId>com.github.github</groupId>
    <artifactId>site-maven-plugin</artifactId>
    <version>0.12</version>
    <configuration>
        <message>Maven artifacts for ${project.version}</message>
        <noJekyll>true</noJekyll>
        <outputDirectory>${project.build.directory}</outputDirectory>
        <branch>refs/heads/<<em>Branch-Name</em>></branch>
        <includes>
            <include>**/*</include>
        </includes>
        <merge>true</merge>
        <repositoryName><<em>Repo-Name</em>></repositoryName>
        <repositoryOwner><<em>Repo-Owner</em>></repositoryOwner>
        <server>github</server>
    </configuration>
    <executions>
        <execution>
            <goals>
                <goal>site</goal>
            </goals>
            <phase>deploy</phase>
        </execution>
    </executions>
</plugin>
As an example, for this tutorial, let's say we have the repository eugenp/host-maven-repo-example. Then the repositoryName tag value will be host-maven-repo-example and the repositoryOwner tag value will be eugenp.
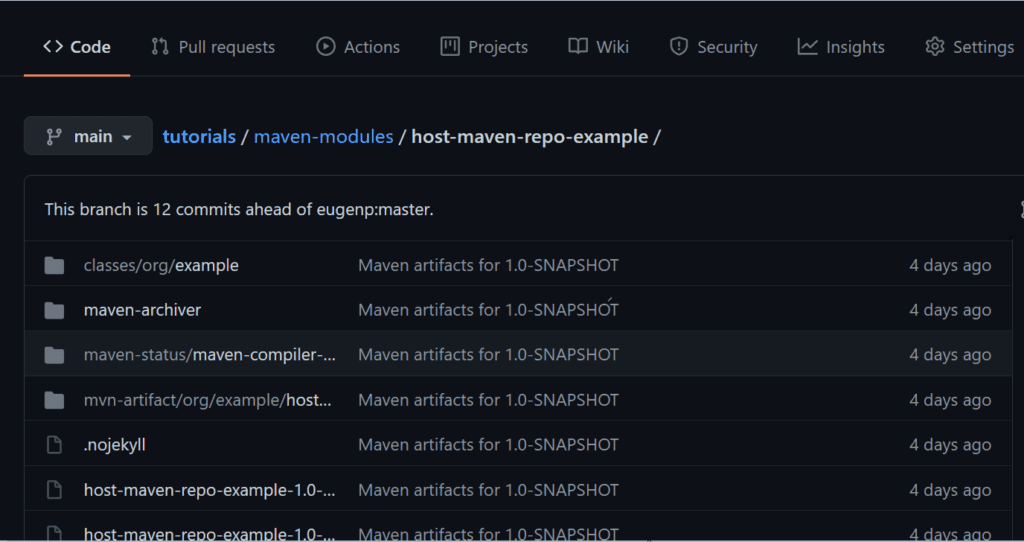
Now, we'll execute the mvn deploy command to upload the artifact to GitHub. The main branch will automatically be created if not present. After a successful build, check the repo on GitHub in the browser and under the main branch. All our binaries will be present in the repo.
In our case, it will look like:

6. Conclusion
Finally, we've seen how to host Maven artifacts on GitHub using the site-maven-plugin.
As always, the code for these examples is available over on GitHub.
The post Hosting a Maven Repository on GitHub first appeared on Baeldung.


