
1. Introduction
Logging plays a crucial role in building web applications. It enables efficient debugging, performance monitoring, and error tracing. However, implementing logging in a clean and organized way, particularly when capturing every request, response, and exception in a centralized manner, is a common challenge.
In this tutorial, we’ll implement centralized logging in a Spring Boot application. We’ll provide a detailed step-by-step guide covering all the necessary configurations and demonstrating the process with practical code examples.
2. Maven Dependencies
First, ensure that we have the necessary dependencies in our pom.xml. We need Spring Web and, optionally, Spring Boot Actuator for better monitoring:
<dependency>
    <groupId>org.springframework.boot</groupId>
    <artifactId>spring-boot-starter-web</artifactId>
    <version>3.4.1</version>
</dependency>
<dependency>
    <groupId>org.springframework.boot</groupId>
    <artifactId>spring-boot-starter-actuator</artifactId>
    <version>3.4.1</version>
</dependency>
Once the dependencies are set, we’re ready to implement the logging logic.
3. Use Spring Boot Actuator for Request Logging
Before creating custom logic, consider using Spring Boot Actuator, which logs HTTP requests out of the box. The Actuator module includes an endpoint /actuator/httpexchanges (for Spring Boot 2.0+), which shows the last 100 HTTP requests made to the application. Besides adding the spring-boot-starter-actuator dependency, we’ll configure the application properties to expose the httpexchanges endpoint:
management:
  endpoints:
    web:
      exposure:
        include: httpexchanges
We’ll also add an in-memory repository to store trace data. This allows us to temporarily store trace data without affecting the primary application logic:
@Configuration
public class HttpTraceActuatorConfiguration {
@Bean
public InMemoryHttpExchangeRepository createTraceRepository() {
return new InMemoryHttpExchangeRepository();
}
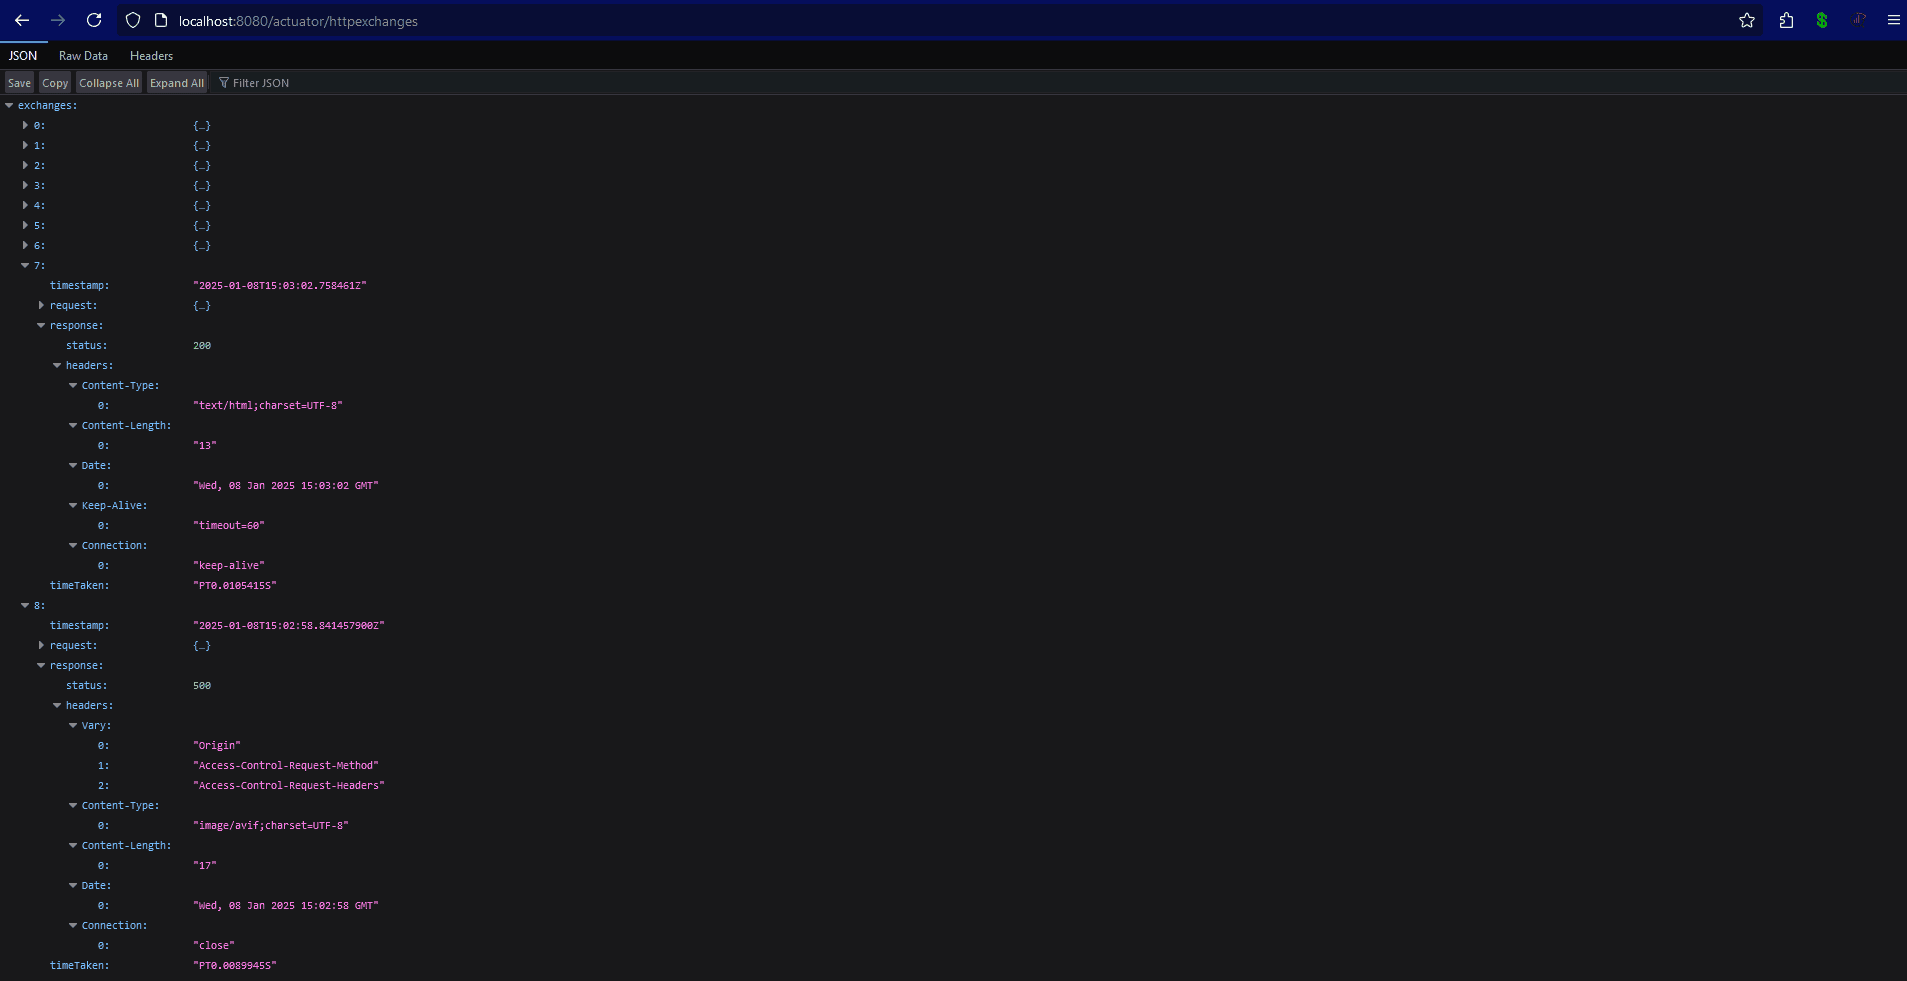
}Now we can run our application and access /actuator/httpexchanges to view the logged:
4. Create a Custom Logging Filter
Creating a custom logging filter allows us to tailor the process to our needs. While Spring Boot Actuator provides a convenient way to log HTTP requests and responses, it may not cover all the use cases for detailed or custom logging requirements. A custom filter allows us to log additional details, format logs in a specific way, or integrate logging with other monitoring tools. Additionally, it’s useful to log sensitive data that is not captured by default by tools like Actuator. For instance, we can log request headers, body content, and response details in any format.
4.1. Implementing the Custom Filter
This filter will be a centralized interceptor for all incoming HTTP requests and outgoing HTTP responses. By implementing the Filter interface, we can log the details of every request and response passing through the application, making debugging and monitoring more efficient:
@Override
public void doFilter(jakarta.servlet.ServletRequest request, jakarta.servlet.ServletResponse response, FilterChain chain)
  throws IOException, ServletException {
    if (request instanceof HttpServletRequest && response instanceof HttpServletResponse) {
        HttpServletRequest httpRequest = (HttpServletRequest) request;
        HttpServletResponse httpResponse = (HttpServletResponse) response;
        logRequest(httpRequest);
        ResponseWrapper responseWrapper = new ResponseWrapper(httpResponse);
        chain.doFilter(request, responseWrapper);
        logResponse(httpRequest, responseWrapper);
    } else {
        chain.doFilter(request, response);
    }
}
In our custom filters, we use two additional methods to log requests and responses:
private void logRequest(HttpServletRequest request) {
    logger.info("Incoming Request: [{}] {}", request.getMethod(), request.getRequestURI());
    request.getHeaderNames().asIterator().forEachRemaining(header ->
      logger.info("Header: {} = {}", header, request.getHeader(header))
    );
}
private void logResponse(HttpServletRequest request, ResponseWrapper responseWrapper) throws IOException {
    logger.info("Outgoing Response for [{}] {}: Status = {}",
      request.getMethod(), request.getRequestURI(), responseWrapper.getStatus());
    logger.info("Response Body: {}", responseWrapper.getBodyAsString());
}
4.2. Custom Response Wrapper
We’ll implement a custom ResponseWrapper, which allows us to capture and manipulate the response body of an HTTP response in our servlet-based web application. This wrapper is handy because the default HttpServletResponse does not provide direct access to the response body once it has been written. By intercepting and storing the response content, we can log or modify it before sending it to the client:
public class ResponseWrapper extends HttpServletResponseWrapper {
    private final CharArrayWriter charArrayWriter = new CharArrayWriter();
    private final PrintWriter writer = new PrintWriter(charArrayWriter);
    public ResponseWrapper(HttpServletResponse response) {
        super(response);
    }
    @Override
    public PrintWriter getWriter() {
        return writer;
    }
    public String getBodyAsString() {
        return charArrayWriter.toString();
    }
}
4.3. Handle Exceptions Globally
Spring Boot provides a convenient way to manage exceptions via the @ControllerAdvice annotation, which defines a global exception handler. This handler will catch any exception that occurs during the request processing and log useful information about it:
@ControllerAdvice
public class GlobalExceptionHandler {
    private static final Logger logger = LoggerFactory.getLogger(GlobalExceptionHandler.class);
    @ExceptionHandler(Exception.class)
    public ResponseEntity<String> handleException(Exception ex) {
        logger.error("Exception caught: {}", ex.getMessage(), ex);
        return ResponseEntity.status(HttpStatus.INTERNAL_SERVER_ERROR).body("An error occurred");
    }
}
We also used the ExceptionHandler annotation. This annotation specifies that the method will handle exceptions of a particular type, in this case, Exception.class. This means this handler will catch all exceptions (unless they are handled elsewhere in the application). We capture all exceptions, log them, and return a generic error response to the client. By logging the stack trace, we ensure that no detail is missed.
5. Testing the Implementation
To test the logging setup, we can create a simple REST controller:
@RestController
@RequestMapping("/api")
public class TestController {
    @GetMapping("/hello")
    public String hello() {
        return "Hello, World!";
    }
    @GetMapping("/error")
    public String error() {
        throw new RuntimeException("This is a test exception");
    }
}
Accessing /api/hello will log the request and response:
INFO 19561 --- [log-all-requests] [nio-8080-exec-3] c.baeldung.logallrequests.LoggingFilter  : Incoming Request: [GET] /api/hello
NFO 19561 --- [log-all-requests] [nio-8080-exec-3] c.baeldung.logallrequests.LoggingFilter  : Header: host = localhost:8080
INFO 19561 --- [log-all-requests] [nio-8080-exec-3] c.baeldung.logallrequests.LoggingFilter  : Header: connection = keep-alive
…
INFO 19561 --- [log-all-requests] [nio-8080-exec-3] c.baeldung.logallrequests.LoggingFilter  : Outgoing Response for [GET] /api/hello: Status = 200
INFO 19561 --- [log-all-requests] [nio-8080-exec-3] c.baeldung.logallrequests.LoggingFilter  : Response Body:
Accessing /api/error will trigger an exception, logging it in the process:
INFO 19561 --- [log-all-requests] [nio-8080-exec-7] c.baeldung.logallrequests.LoggingFilter : Outgoing Response for [GET] /api/error: Status = 5006. Conclusion
In this article, we’ve successfully implemented a centralized logging mechanism for requests, responses, and exceptions. By leveraging Spring Boot Actuator or creating custom logging logic using Filter and ControllerAdvice, we’ve ensured that our application remains clean and maintainable.
This helps us monitor our application and empowers us to troubleshoot issues quickly when they arise. As always, the full source code is available over on GitHub.
The post How to Log All Requests and Responses and Exceptions in a Single Place first appeared on Baeldung.


