1. Overview
Blade is a tiny Java 8+ MVC framework, built from scratch with some clear goals in mind: to be self-contained, productive, elegant, intuitive, and super fast.
Many different frameworks inspired its design: Node’s Express, Python’s Flask, and Golang’s Macaron / Martini.
Blade is also part of an ambitiously larger project, Let’s Blade. It includes a heterogeneous collection of other small libraries, from Captcha generation to JSON conversion, from templating to a simple database connection.
However, in this tutorial, we’ll focus on the MVC only.
2. Getting Started
First of all, let’s create an empty Maven project and add the latest Blade MVC dependency in the pom.xml:
<dependency>
    <groupId>com.bladejava</groupId>
    <artifactId>blade-mvc</artifactId>
    <version>2.0.14.RELEASE</version>
</dependency>
2.1. Bundling a Blade Application
Since our app will be created as a JAR, it won’t have a /lib folder, like in a WAR. As a result, this leads us to the problem how to provide the blade-mvc JAR, along with any other JAR we might need, to our app.
The different ways of doing this, each one with pros and cons, are explained in the How to Create an Executable JAR with Maven tutorial.
For simplicity, we’ll use the Maven Assembly Plugin technique, which explodes any JAR imported in the pom.xml and subsequently bundles all the classes together in a single uber-JAR.
2.2. Running a Blade Application
Blade is based upon Netty, an amazing asynchronous event-driven network application framework. Therefore, to run our Blade-based application we don’t need any external Application Server nor Servlet Container; the JRE will be enough:
java -jar target/sample-blade-app.jar
After that, the application will be accessible at the http://localhost:9000 URL.
3. Understanding the Architecture
The architecture of Blade is very straightforward:
![]()
It always follows the same life cycle:
- Netty receives a request
- Middlewares are executed (optional)
- WebHooks are executed (optional)
- Routing is performed
- The response is sent to the client
- Cleanup
We’ll explore the above functions in the next sections.
4. Routing
In short, routing in MVC is the mechanism used to create a binding between an URL and a Controller.
Blade provides two types of routes: a basic one and an annotated one.
4.1. Basic Routes
Basic routes are intended for very small software, like microservices or minimal web applications:
Blade.of()
  .get("/basic-routes-example", ctx -> ctx.text("GET called"))
  .post("/basic-routes-example", ctx -> ctx.text("POST called"))
  .put("/basic-routes-example", ctx -> ctx.text("PUT called"))
  .delete("/basic-routes-example", ctx -> ctx.text("DELETE called"))
  .start(App.class, args);
The name of the method used to register a route corresponds to the HTTP verb that will be used to forward the request. As simple as that.
In this case, we’re returning a text, but we can also render pages, as we’ll see later in this tutorial.
4.2. Annotated Routes
Certainly, for more realistic use cases we can define all the routes we need using annotations. We should use separate classes for that.
First of all, we need to create a Controller through the @Path annotation, which will be scanned by Blade during the startup.
We then need to use the route annotation related to the HTTP method we want to intercept:
@Path
public class RouteExampleController {

    @GetRoute("/routes-example")
    public String get(){
        return "get.html";
    }

    @PostRoute("/routes-example")
    public String post(){
        return "post.html";
    }

    @PutRoute("/routes-example")
    public String put(){
        return "put.html";
    }

    @DeleteRoute("/routes-example")
    public String delete(){
        return "delete.html";
    }
}
We can also use the simple @Route annotation and specify the HTTP method as a parameter:
@Route(value="/another-route-example", method=HttpMethod.GET)
public String anotherGet(){
    return "get.html" ;
}
On the other hand, if we don’t put any method parameter, the route will intercept every HTTP call to that URL, no matter the verb.
4.3. Parameter Injection
There are several ways to pass parameters to our routes. Let’s explore them with some examples from the documentation.
@GetRoute("/home")
public void formParam(@Param String name){
    System.out.println("name: " + name);
}
@GetRoute("/users/:uid")
public void restfulParam(@PathParam Integer uid){
    System.out.println("uid: " + uid);
}
@PostRoute("/upload")
public void fileParam(@MultipartParam FileItem fileItem){
    byte[] file = fileItem.getData();
}
@GetRoute("/header")
public void headerParam(@HeaderParam String referer){
    System.out.println("Referer: " + referer);
}
@GetRoute("/cookie")
public void cookieParam(@CookieParam String myCookie){
    System.out.println("myCookie: " + myCookie);
}
@PostRoute("/bodyParam")
public void bodyParam(@BodyParam User user){
    System.out.println("user: " + user.toString());
}
- Value Object parameter, called by sending its attributes to the route:
@PostRoute("/voParam")
public void voParam(@Param User user){
    System.out.println("user: " + user.toString());
}
<form method="post">
    <input type="text" name="age"/>
    <input type="text" name="name"/>
</form>
5. Static Resources
Blade can also serve static resources if needed, by simply putting them inside the /resources/static folder.
For example, the src/main/resources/static/app.css will be available at http://localhost:9000/static/app.css.
5.1. Customizing the Paths
We can tune this behavior by adding one or more static paths programmatically:
blade.addStatics("/custom-static");
The same result is obtainable through configuration, by editing the file src/main/resources/application.properties:
mvc.statics=/custom-static
5.2. Enabling the Resources Listing
We can allow the listing of a static folder’s content, a feature turned off by default for a security reason:
blade.showFileList(true);
Or in the configuration:
mvc.statics.show-list=true
We can now open the http://localhost:9000/custom-static/ to show the content of the folder.
5.3. Using WebJars
As seen in the Introduction to WebJars tutorial, static resources packaged as JAR are also a viable option.
Blade exposes them automatically under the /webjars/ path.
For instance, let’s import Bootstrap in the pom.xml:
<dependency>
    <groupId>org.webjars</groupId>
    <artifactId>bootstrap</artifactId>
    <version>4.2.1</version>
</dependency>
As a result, it’ll be available under http://localhost:9000/webjars/bootstrap/4.2.1/css/bootstrap.css
6. HTTP Request
Since Blade is not based on the Servlet Specification, objects like its interface Request and its class HttpRequest are slightly different than the ones we’re used to.
6.1. Form Parameters
When reading form parameters, Blade makes great use of Java’s Optional in the results of the query methods (all methods below return an Optional object):
- query(String name)
- queryInt(String name)
- queryLong(String name)
- queryDouble(String name)
They’re also available with a fallback value:
- String query(String name, String defaultValue)
- int queryInt(String name, int defaultValue)
- long queryLong(String name, long defaultValue)
- double queryDouble(String name, double defaultValue)
We can read a form parameter through the automapped property:
@PostRoute("/save")
public void formParams(@Param String username){
    // ...
}
Or from the Request object:
@PostRoute("/save")
public void formParams(Request request){
    String username = request.query("username", "Baeldung");
}
6.2. JSON Data
Let’s now take a look at how a JSON object can be mapped to a POJO:
curl -X POST http://localhost:9000/users -H 'Content-Type: application/json' \
  -d '{"name":"Baeldung","site":"baeldung.com"}'
POJO (annotated with Lombok for readability):
public class User {
    @Getter @Setter private String name;
    @Getter @Setter private String site;
}
Again, the value is available as the injected property:
@PostRoute("/users")
public void bodyParams(@BodyParam User user){
    // ...
}
And from the Request:
@PostRoute("/users")
public void bodyParams(Request request) {
    String bodyString = request.bodyToString();
}
6.3. RESTful Parameters
RESTFul parameters in pretty URLs like localhost:9000/user/42 are also first-class citizens:
@GetRoute("/user/:id")
public void user(@PathParam Integer id){
    // ...
}
As usual, we can rely on the Request object when needed:
@GetRoute("/user")
public void user(Request request){
    Integer id = request.pathInt("id");
}
Obviously, the same method is available for Long and String types too.
6.4. Data Binding
Blade supports both JSON and Form binding parameters and attaches them to the model object automatically:
@PostRoute("/users")
public void bodyParams(User user){}
6.5. Request and Session Attributes
The API for reading and writing objects in a Request and a Session are crystal clear.
The methods with two parameters, representing key and value, are the mutators we can use to store our values in the different contexts:
Session session = request.session();
request.attribute("request-val", "Some Request value");
session.attribute("session-val", 1337);
On the other hand, the same methods accepting only the key parameter are the accessors:
String requestVal = request.attribute("request-val");
String sessionVal = session.attribute("session-val"); //It's an Integer
An interesting feature is their Generic return type <T> T, which saves us from the need of casting the result.
6.6. Headers
Request headers, on the contrary, can only be read from the request:
String header1 = request.header("a-header");
String header2 = request.header("a-safe-header", "with a default value");
Map<String, String> allHeaders = request.headers();
6.7. Utilities
The following utility methods are also available out of the box, and they’re so evident that don’t need further explanations:
- boolean isIE()
- boolean isAjax()
- String contentType()
- String userAgent()
6.8. Reading Cookies
Let’s see how the Request object helps us deal with Cookies, specifically when reading the Optional<Cookie>:
Optional<Cookie> cookieRaw(String name);
We can also get it as a String by specifying a default value to apply if a Cookie doesn’t exist:
String cookie(String name, String defaultValue);
Finally, this is how we can read all the Cookies at once (keys are Cookies’ names, values are Cookies’ values):
Map<String, String> cookies = request.cookies();
7. HTTP Response
Analogous to what was done with the Request, we can obtain a reference to the Response object by simply declaring it as a parameter of the routing method:
@GetRoute("/")
public void home(Response response) {}
7.1. Simple Output
We can easily send a simple output to the caller through one of the handy output methods, along with a 200 HTTP code and the appropriate Content-Type.
Firstly, we can send a plain text:
response.text("Hello World!");
Secondly, we can produce an HTML:
response.html("<h1>Hello World!</h1>");
Thirdly, we can likewise generate an XML:
response.xml("<Msg>Hello World!</Msg>");
Finally, we can output JSON using a String:
response.json("{\"The Answer\":42}");
And even from a POJO, exploiting the automatic JSON conversion:
User user = new User("Baeldung", "baeldung.com");
response.json(user);
7.2. File Output
Downloading a file from the server couldn’t be leaner:
response.download("the-file.txt", "/path/to/the/file.txt");
The first parameter sets the name of the file that will be downloaded, while the second one (a File object, here constructed with a String) represents the path to the actual file on the server.
7.3. Template Rendering
Blade can also render pages through a template engine:
response.render("admin/users.html");
The templates default directory is src/main/resources/templates/, hence the previous one-liner will look for the file src/main/resources/templates/admin/users.html.
We’ll learn more about this later, in the Templating section.
7.4. Redirect
A redirection means sending a 302 HTTP code to the browser, along with an URL to follow with a second GET.
We can redirect to another route, or to an external URL as well:
response.redirect("/target-route");
7.5. Writing Cookies
We should be used to the simplicity of Blade at this point. Let’s thus see how we can write an unexpiring Cookie in a single line of code:
response.cookie("cookie-name", "Some value here");
Indeed, removing a Cookie is equally simple:
response.removeCookie("cookie-name");
7.6. Other Operations
Finally, the Response object provides us with several other methods to perform operations like writing Headers, setting the Content-Type, setting the Status code, and so on.
Let’s take a quick look at some of them:
- Response status(int status)
- Map headers()
- Response notFound()
- Map cookies()
- Response contentType(String contentType)
- void body(@NonNull byte[] data)
- Response header(String name, String value)
8. WebHooks
A WebHook is an interceptor through which we can run code before and after the execution of a routing method.
We can create a WebHook by simply implementing the WebHook functional interface and overriding the before() method:
@FunctionalInterface
public interface WebHook {

    boolean before(RouteContext ctx);

    default boolean after(RouteContext ctx) {
        return true;
    }
}
As we can see, after() is a default method, hence we’ll override it only when needed.
8.1. Intercepting Every Request
The @Bean annotation tells the framework to scan the class with the IoC Container.
A WebHook annotated with it will consequently work globally, intercepting requests to every URL:
@Bean
public class BaeldungHook implements WebHook {

    @Override
    public boolean before(RouteContext ctx) {
        System.out.println("[BaeldungHook] called before Route method");
        return true;
    }
}
8.2. Narrowing to a URL
We can also intercept specific URLs, to execute code around those route methods only:
Blade.of()
  .before("/user/*", ctx -> System.out.println("Before: " + ctx.uri()));
  .start(App.class, args);
8.3. Middlewares
Middlewares are prioritized WebHooks, which get executed before any standard WebHook:
public class BaeldungMiddleware implements WebHook {

    @Override
    public boolean before(RouteContext context) {
        System.out.println("[BaeldungMiddleware] called before Route method and other WebHooks");
        return true;
    }
}
They simply need to be defined without the @Bean annotation, and then registered declaratively through use():
Blade.of()
  .use(new BaeldungMiddleware())
  .start(App.class, args);
In addition, Blade comes with the following security-related built-in Middlewares, whose names should be self-explanatory:
9. Configuration
In Blade, the configuration is totally optional, because everything works out-of-the-box by convention. However, we can customize the default settings, and introduce new attributes, inside the src/main/resources/application.properties file.
9.1. Reading the Configuration
We can read the configuration in different ways, with or without specifying a default value in case the setting is not available.
Blade.of()
  .on(EventType.SERVER_STARTED, e -> {
      Optional<String> version = WebContext.blade().env("app.version");
  })
  .start(App.class, args);
@GetRoute("/some-route")
public void someRoute(){
    String authors = WebContext.blade().env("app.authors","Unknown authors");
}
- In a custom loader, by implementing the BladeLoader interface, overriding the load() method, and annotating the class with @Bean:
@Bean
public class LoadConfig implements BladeLoader {

    @Override
    public void load(Blade blade) {
        Optional<String> version = WebContext.blade().env("app.version");
        String authors = WebContext.blade().env("app.authors","Unknown authors");
    }
}
9.2. Configuration Attributes
The several settings already configured, but ready to be customized, are grouped by type and listed at this address in three-column tables (name, description, default value). We can also refer to the translated page, paying attention to the fact that the translation erroneously capitalizes the settings’ names. The real settings are fully lowercase.
Grouping configuration settings by prefix makes them readable all at once into a map, which is useful when there are many of them:
Environment environment = blade.environment();
Map<String, Object> map = environment.getPrefix("app");
String version = map.get("version").toString();
String authors = map.get("authors","Unknown authors").toString();
9.3. Handling Multiple Environments
When deploying our app to a different environment, we might need to specify different settings, for example the ones related to the database connection. Instead of manually replacing the application.properties file, Blade offers us a way to configure the app for different environments. We can simply keep application.properties with all the development settings, and then create other files in the same folder, like application-prod.properties, containing only the settings that differ.
During the startup, we can then specify the environment we want to use, and the framework will merge the files by using the most specific settings from application-prod.properties, and all the other settings from the default application.properties file:
java -jar target/sample-blade-app.jar --app.env=prod
10. Templating
Templating in Blade is a modular aspect. While it integrates a very basic template engine, for any professional use of the Views we should rely on an external template engine. We can then choose an engine from the ones available in the blade-template-engines repository on GitHub, which are FreeMarker, Jetbrick, Pebble, and Velocity, or even creating a wrapper to import another template we like.
Blade’s author suggests Jetbrick, another smart Chinese project.
10.1. Using the Default Engine
The default template works by parsing variables from different contexts through the ${} notation:
<h1>Hello, ${name}!</h1>
10.2. Plugging in an External Engine
Switching to a different template engine is a breeze! We simply import the dependency of (the Blade wrapper of) the engine:
<dependency>
    <groupId>com.bladejava</groupId>
    <artifactId>blade-template-jetbrick</artifactId>
    <version>0.1.3</version>
</dependency>
At this point, it’s enough to write a simple configuration to instruct the framework to use that library:
@Bean
public class TemplateConfig implements BladeLoader {

    @Override
    public void load(Blade blade) {
        blade.templateEngine(new JetbrickTemplateEngine());
    }
}
As a result, now every file under src/main/resources/templates/ will be parsed with the new engine, whose syntax is beyond the scope of this tutorial.
10.3. Wrapping a New Engine
Wrapping a new template engine requires creating a single class, which must implement the TemplateEngine interface and override the render() method:
void render (ModelAndView modelAndView, Writer writer) throws TemplateException;
For this purpose, we can take a look at the code of the actual Jetbrick wrapper to get an idea of what that means.
11. Logging
Blade uses slf4j-api as logging interface.
It also includes an already configured logging implementation, called blade-log. Therefore, we don’t need to import anything; it works as is, by simply defining a Logger:
private static final org.slf4j.Logger log = org.slf4j.LoggerFactory.getLogger(LogExample.class);
11.1. Customizing the Integrated Logger
In case we want to modify the default configuration, we need to tune the following parameters as System Properties:
- Logging levels (can be “trace”, “debug”, “info”, “warn”, or “error”):
# Root Logger
com.blade.logger.rootLevel=info

# Package Custom Logging Level
com.blade.logger.somepackage=debug

# Class Custom Logging Level
com.blade.logger.com.baeldung.sample.SomeClass=trace
# Date and Time
com.blade.logger.showDate=false

# Date and Time Pattern
com.blade.logger.datePattern=yyyy-MM-dd HH:mm:ss:SSS Z

# Thread Name
com.blade.logger.showThread=true

# Logger Instance Name
com.blade.logger.showLogName=true

# Only the Last Part of FQCN
com.blade.logger.shortName=true
# Path
com.blade.logger.dir=./logs

# Name (it defaults to the current app.name)
com.blade.logger.name=sample
11.2. Excluding the Integrated Logger
Although having an integrated logger already configured is very handy to start our small project, we might easily end up in the case where other libraries import their own logging implementation. And, in that case, we’re able to remove the integrated one in order to avoid conflicts:
<dependency>
    <groupId>com.bladejava</groupId>
    <artifactId>blade-mvc</artifactId>
    <version>${blade.version}</version>
    <exclusions>
        <exclusion>
            <groupId>com.bladejava</groupId>
            <artifactId>blade-log</artifactId>
        </exclusion>
    </exclusions>
</dependency>
12. Customizations
12.1. Custom Exception Handling
An Exception Handler is also built-in by default in the framework. It prints the exception to the console, and if app.devMode is true, the stack trace is also visible on the webpage.
However, we can handle an Exception in a specific way by defining a @Bean extending the DefaultExceptionHandler class:
@Bean
public class GlobalExceptionHandler extends DefaultExceptionHandler {

    @Override
    public void handle(Exception e) {
        if (e instanceof BaeldungException) {
            BaeldungException baeldungException = (BaeldungException) e;
            String msg = baeldungException.getMessage();
            WebContext.response().json(RestResponse.fail(msg));
        } else {
            super.handle(e);
        }
    }
}
12.2. Custom Error Pages
Similarly, the errors 404 – Not Found and 500 – Internal Server Error are handled through skinny default pages.
We can force the framework to use our own pages by declaring them in the application.properties file with the following settings:
mvc.view.404=my-404.html
mvc.view.500=my-500.html
Certainly, those HTML pages must be placed under the src/main/resources/templates folder.
Within the 500 one, we can moreover retrieve the exception message and the stackTrace through their special variables:
<!DOCTYPE html>
<html>
<head>
<meta charset="utf-8">
<title>500 Internal Server Error</title>
</head>
<body>
<h1> Custom Error 500 Page </h1>
<p> The following error occurred: "<strong>${message}</strong>"</p>
<pre> ${stackTrace} </pre>
</body>
</html>
13. Scheduled Tasks
Another interesting feature of the framework is the possibility of scheduling the execution of a method.
That’s possible by annotating the method of a @Bean class with the @Schedule annotation:
@Bean
public class ScheduleExample {
@Schedule(name = "baeldungTask", cron = "0 */1 * * * ?")
public void runScheduledTask() {
System.out.println("This is a scheduled Task running once per minute.");
}
}
Indeed, it uses the classical cron expressions to specify the DateTime coordinates. We can read more about those in A Guide to Cron Expressions.
Later on, we might exploit the static methods of the TaskManager class to perform operations on the scheduled tasks.
- Get all the scheduled tasks:
List<Task> allScheduledTasks = TaskManager.getTasks();
Task myTask = TaskManager.getTask("baeldungTask");
boolean closed = TaskManager.stopTask("baeldungTask");
14. Events
As already seen in section 9.1, it’s possible to listen for a specified event before running some custom code.
Blade provides the following events out of the box:
public enum EventType {
SERVER_STARTING,
SERVER_STARTED,
SERVER_STOPPING,
SERVER_STOPPED,
SESSION_CREATED,
SESSION_DESTROY,
SOURCE_CHANGED,
ENVIRONMENT_CHANGED
}
While the first six are easy to guess, the last two need some hints: ENVIRONMENT_CHANGED allows us to perform an action if a configuration file changes when the server is up. SOURCE_CHANGED, instead, is not yet implemented and is there for future use only.
Let’s see how we can put a value in the session whenever it’s created:
Blade.of()
.on(EventType.SESSION_CREATED, e -> {
Session session = (Session) e.attribute("session");
session.attribute("name", "Baeldung");
})
.start(App.class, args);
15. Session Implementation
Talking about the session, its default implementation stores session values in-memory.
We might, thus, want to switch to a different implementation to provide cache, persistence, or something else. Let’s take Redis, for example. We’d first need to create our RedisSession wrapper by implementing the Session interface, as shown in the docs for the HttpSession.
Then, it’d be only a matter of letting the framework know we want to use it. We can do this in the same way we did for the custom template engine, with the only difference being that we call the sessionType() method:
@Bean
public class SessionConfig implements BladeLoader {
@Override
public void load(Blade blade) {
blade.sessionType(new RedisSession());
}
}
16. Command Line Arguments
When running Blade from the command line, there are three settings we can specify to alter its behavior.
Firstly, we can change the IP address, which by default is the local 0.0.0.0 loopback:
java -jar target/sample-blade-app.jar --server.address=192.168.1.100
Secondly, we can also change the port, which by default is 9000:
java -jar target/sample-blade-app.jar --server.port=8080
Finally, as seen in section 9.3, we can change the environment to let a different application-XXX.properties file to be read over the default one, which is application.properties:
java -jar target/sample-blade-app.jar --app.env=prod
17. Running in the IDE
Any modern Java IDE is able to play a Blade project without even needing the Maven plugins. Running Blade in an IDE is especially useful when running the Blade Demos, examples written expressly to showcase the framework’s functionalities. They all inherit a parent pom, so it’s easier to let the IDE do the work, instead of manually tweaking them to be run as standalone apps.
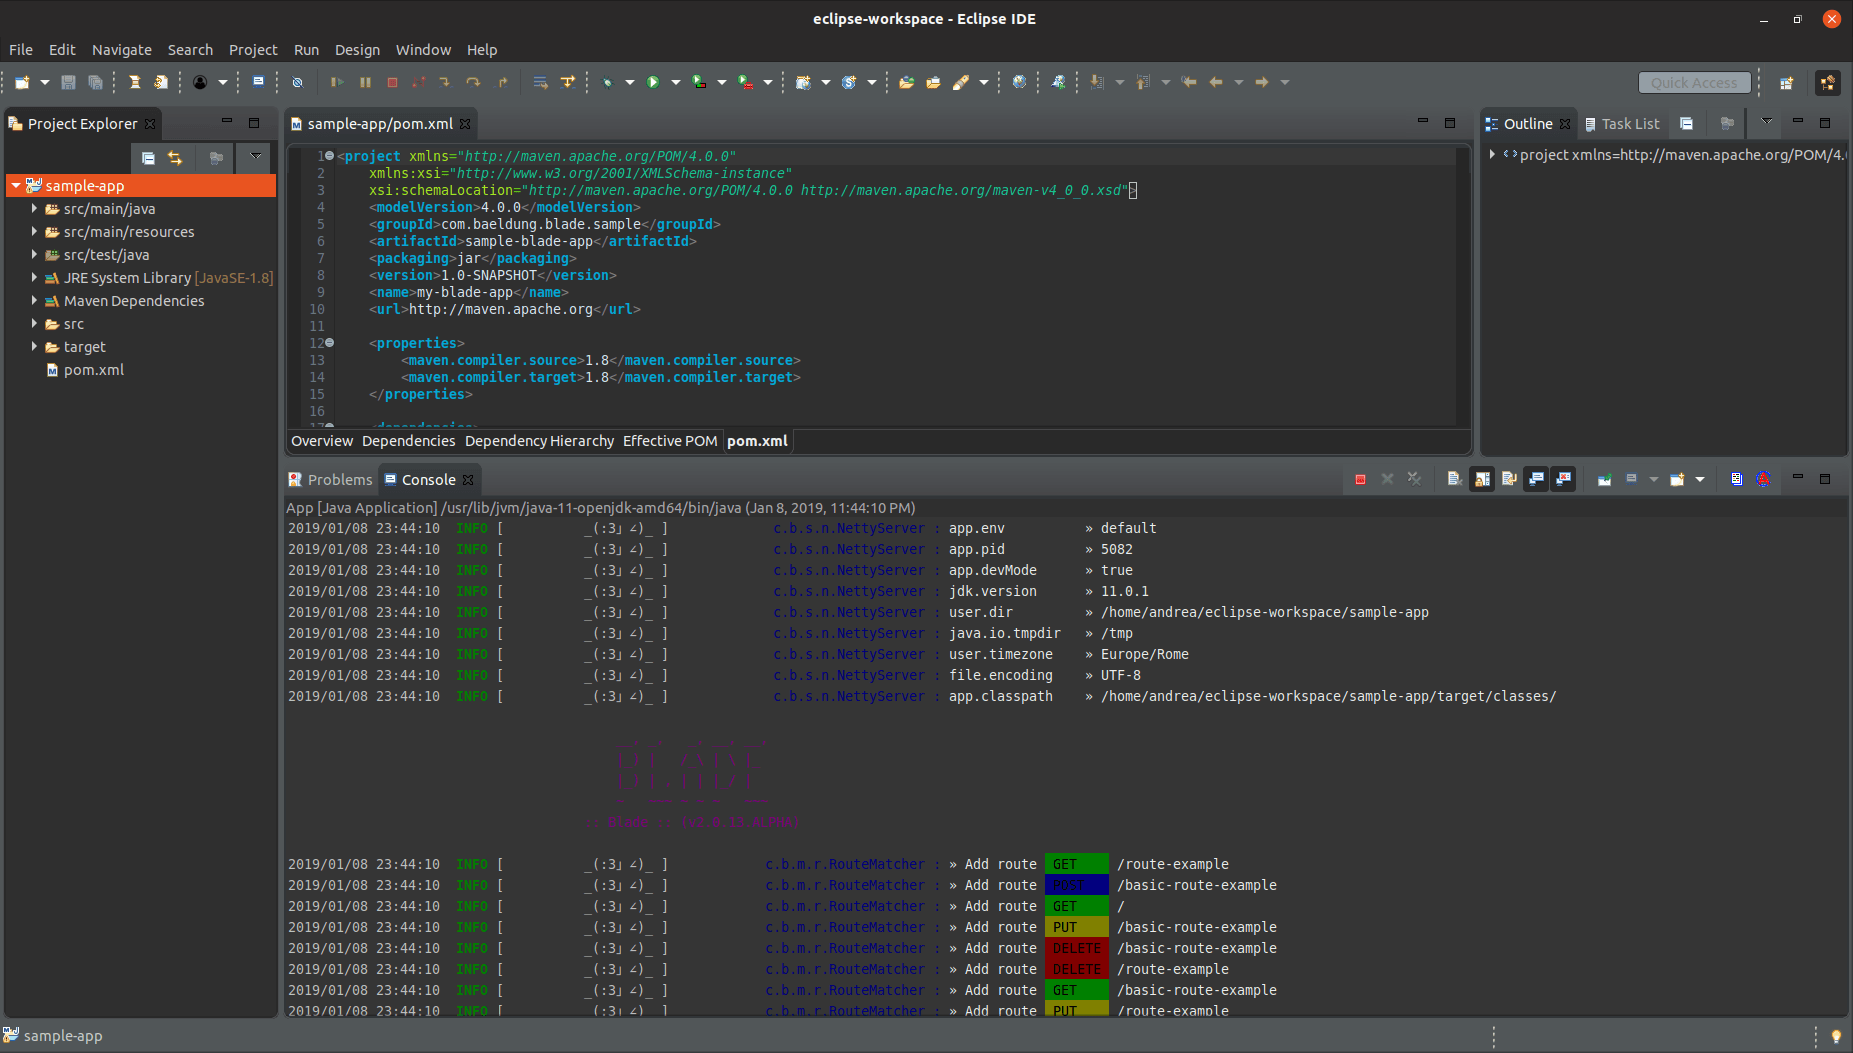
17.1. Eclipse
In Eclipse, it’s enough to right-click on the project and launch Run as Java Application, select our App class, and press OK.
Eclipse’s console, however, will not display ANSI colors correctly, pouring out their codes instead:
![]()
Luckily, installing the ANSI Escape in Console extension fixes the problem for good:
![]()
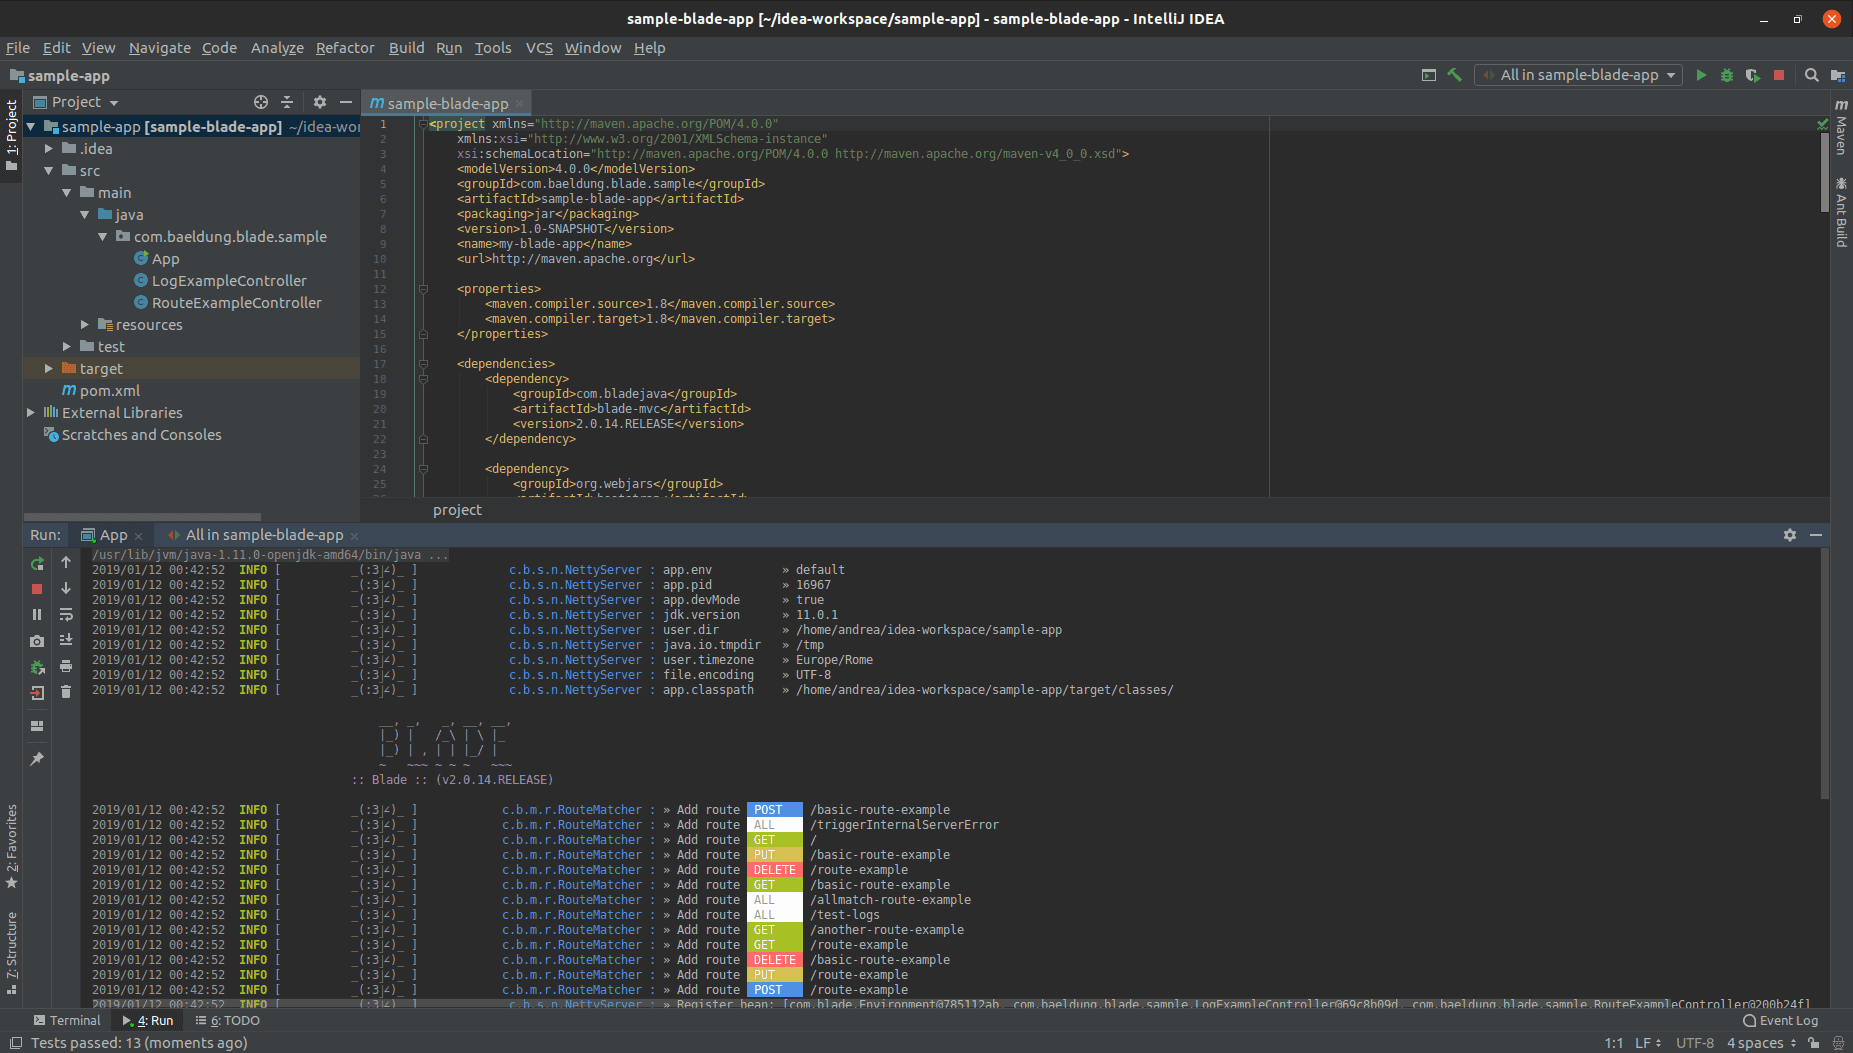
17.2. IntelliJ IDEA
IntelliJ IDEA works with ANSI colors out of the box. Therefore, it’s enough to create the project, right-click on the App file, and launch Run ‘App.main()’ (which is equivalent to pressing Ctrl+Shift+F10):
![]()
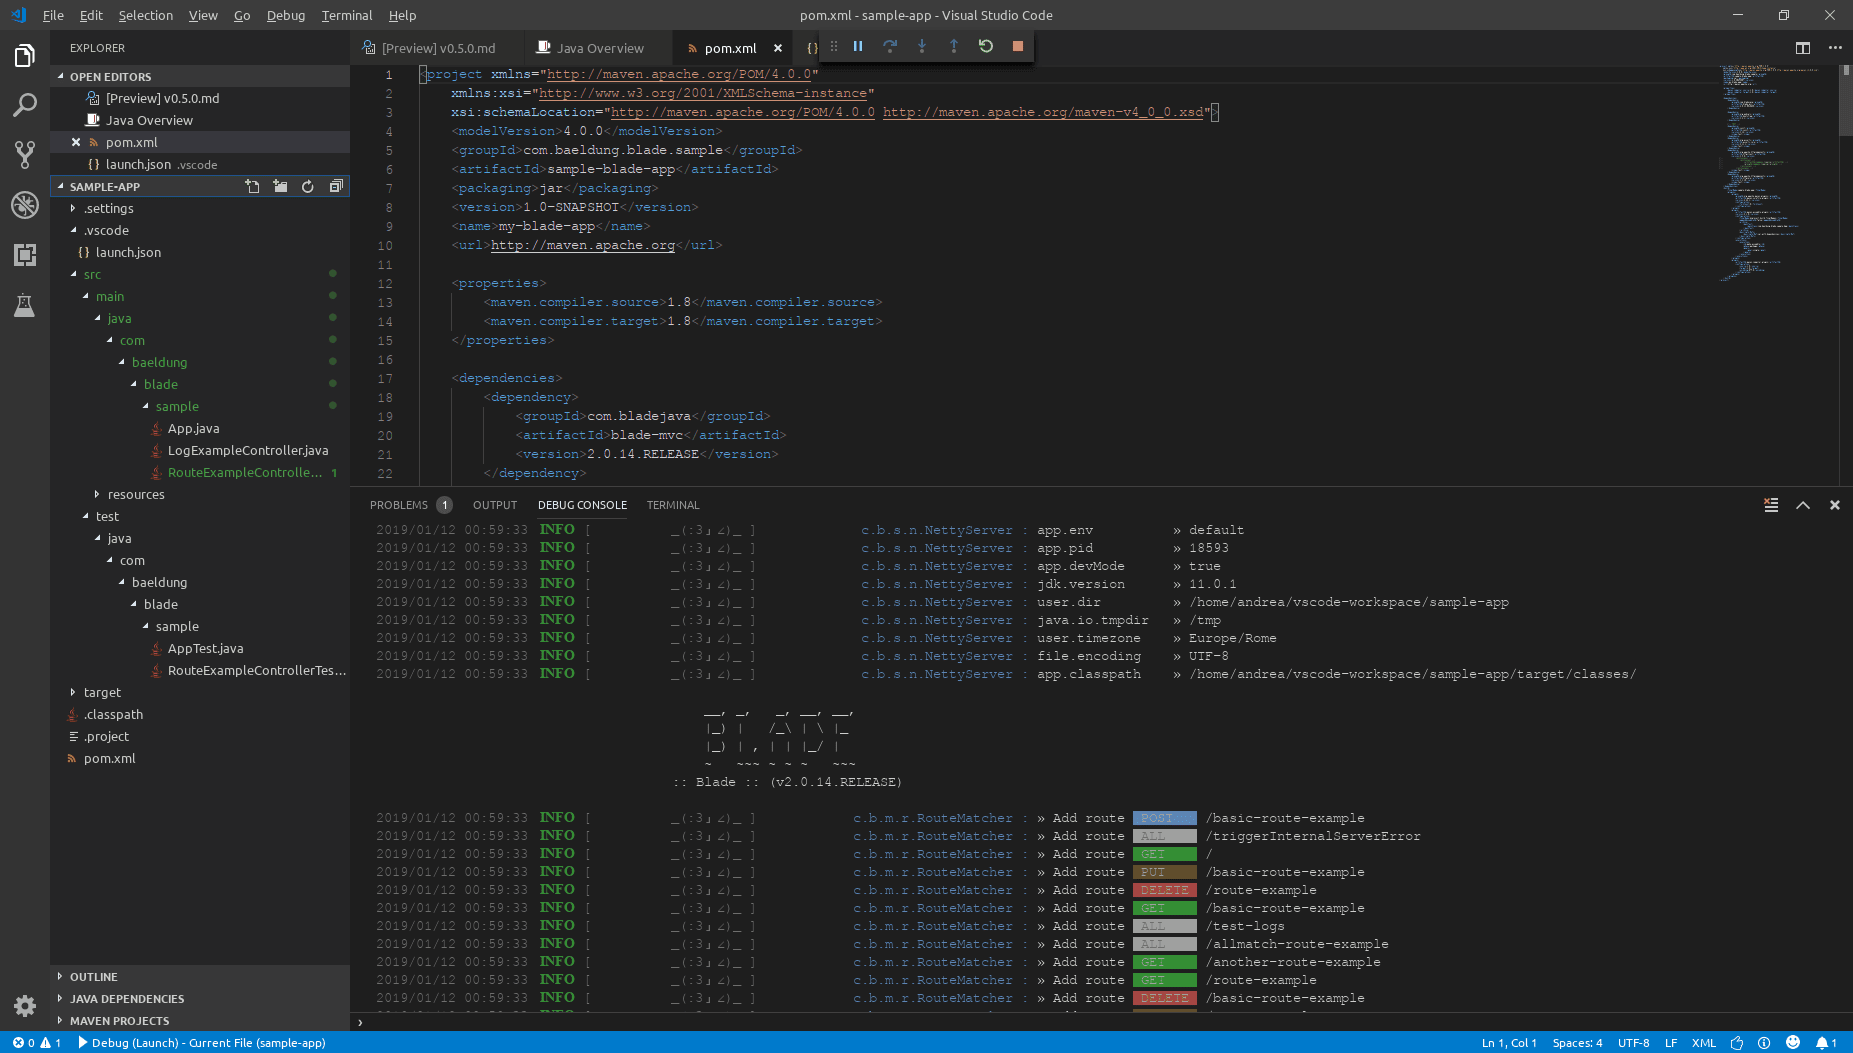
17.3. Visual Studio Code
It’s also possible to use VSCode, a popular non-Java-centric IDE, by previously installing the Java Extension Pack.
Pressing Ctrl+F5 will then run the project:
![]()
18. Conclusion
We’ve seen how to use Blade to create a small MVC application.
The entire documentation is available only in the Chinese language. Despite being widespread mainly in China, thanks to its Chinese origins, the author has recently translated the API and documented the core functionalities of the project in English on GitHub.
As always, we can find the source code of the example over on GitHub.
![]()